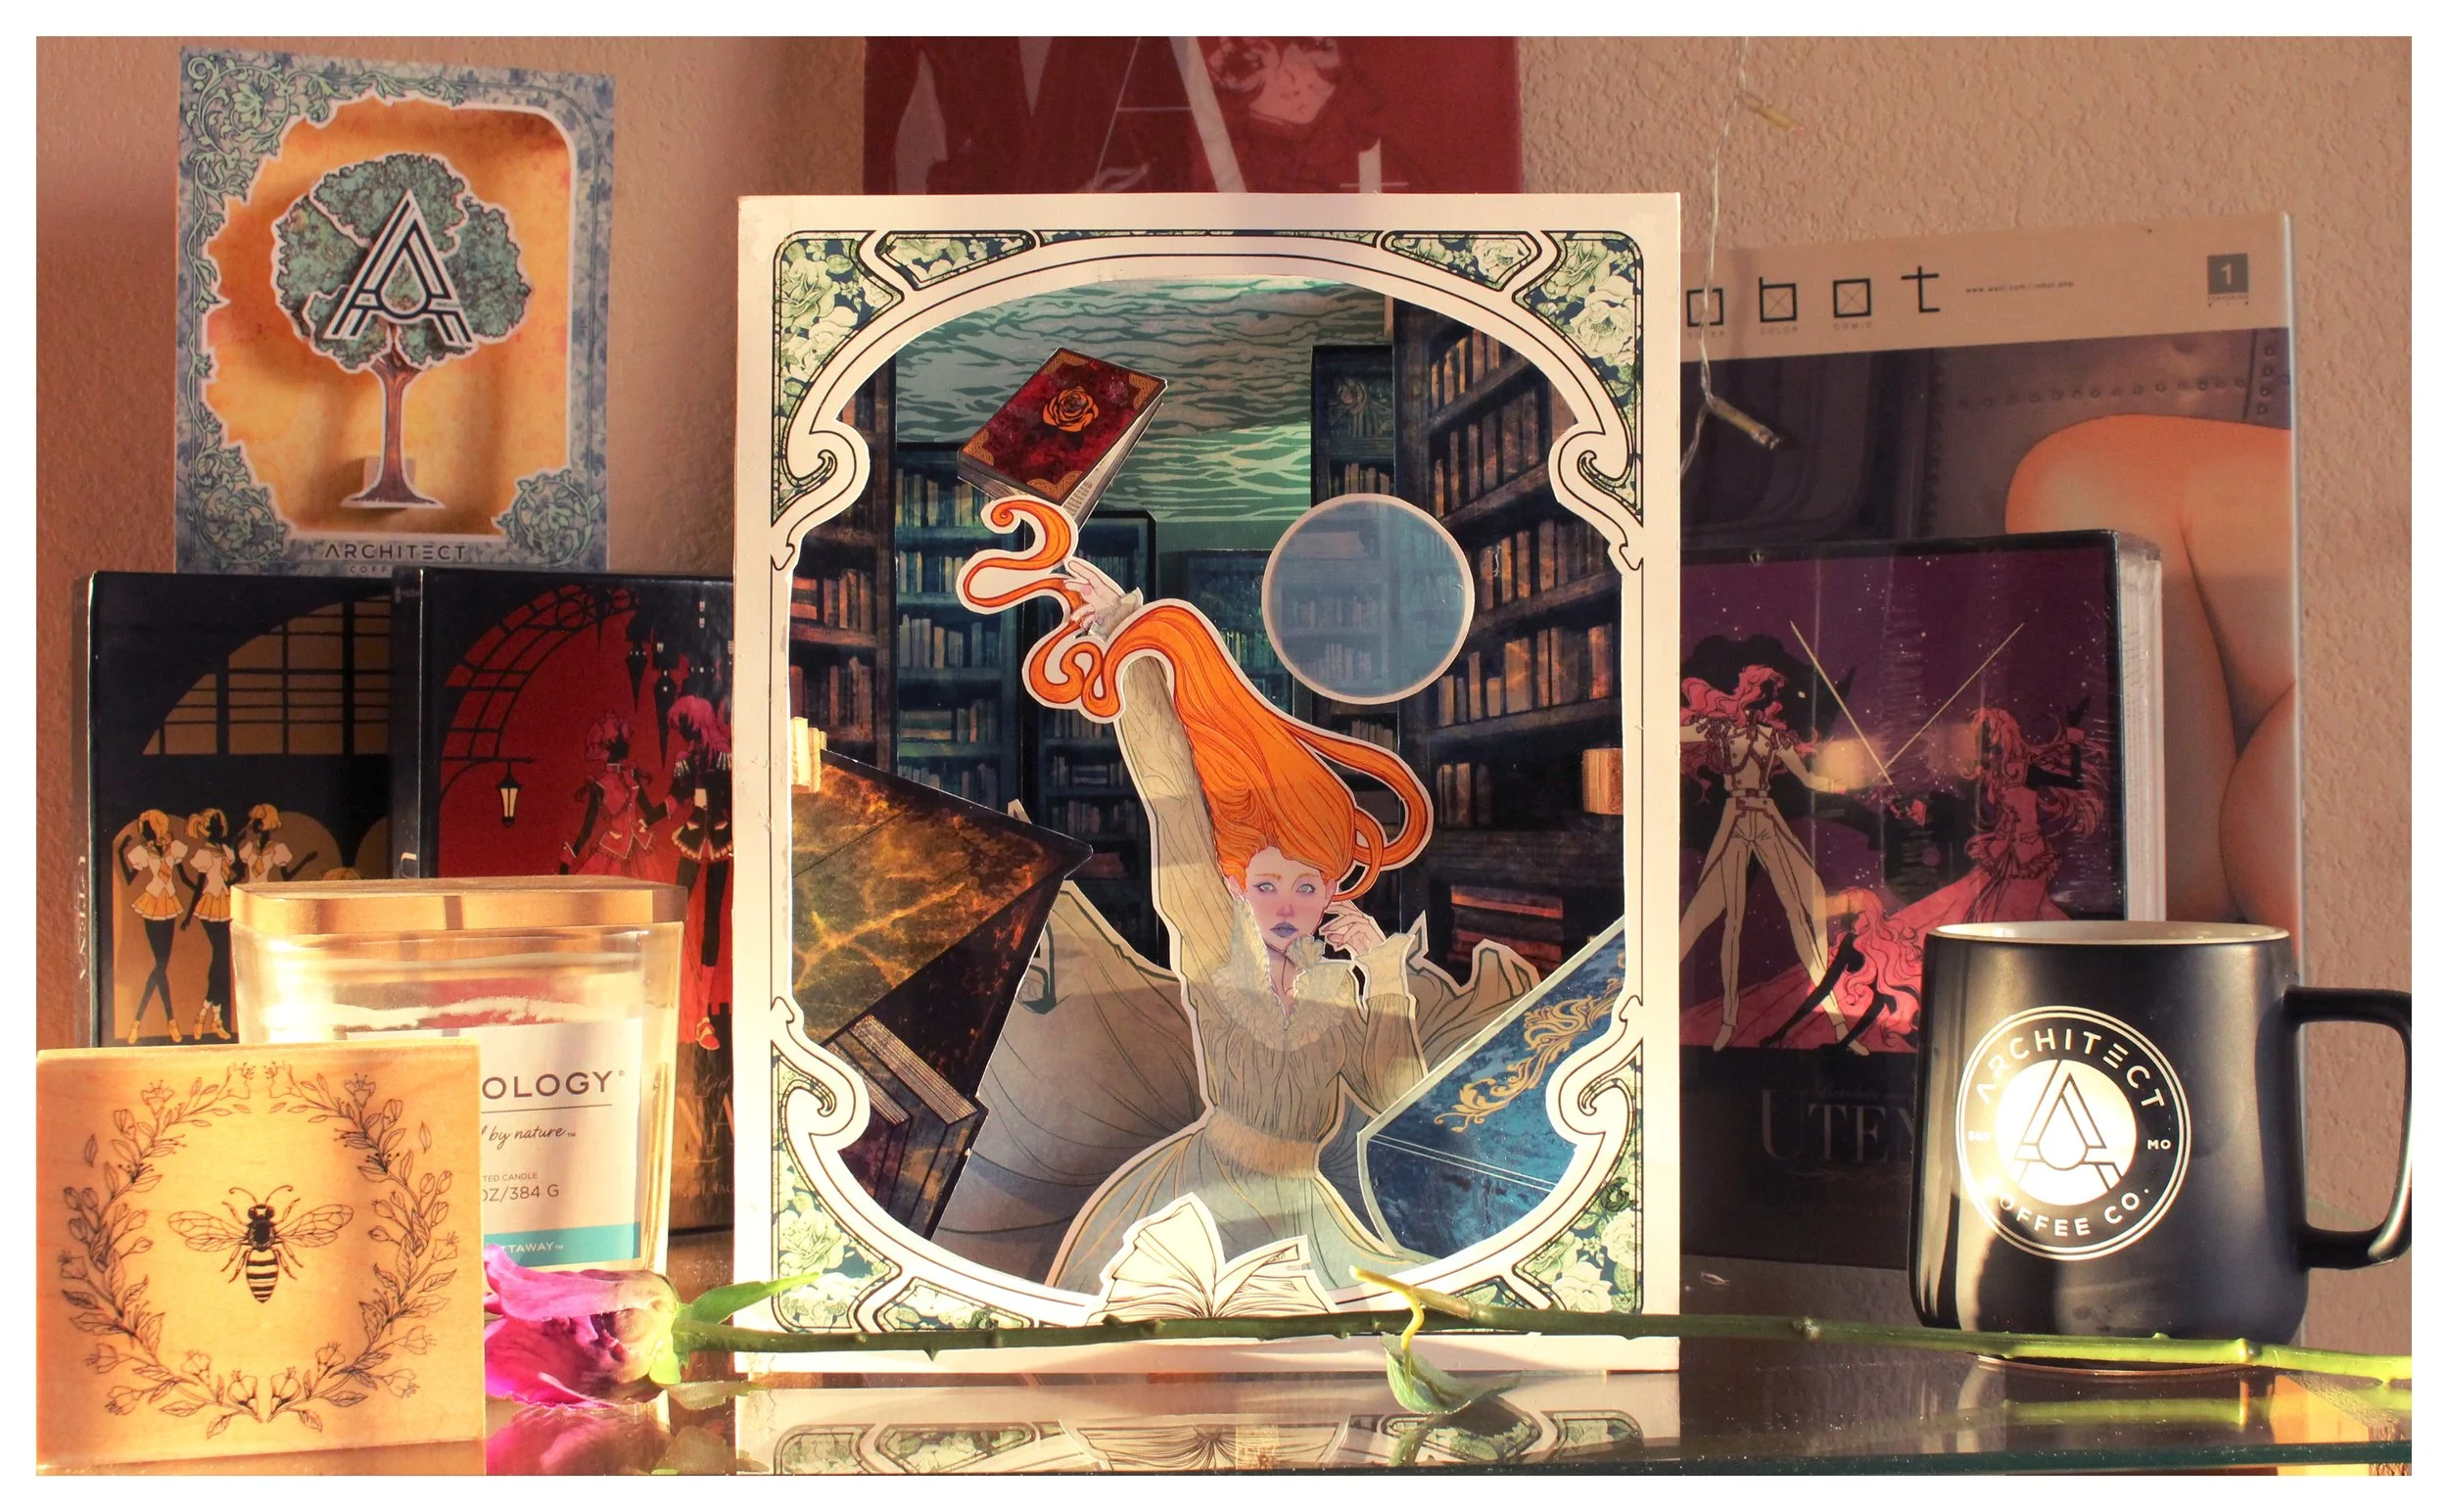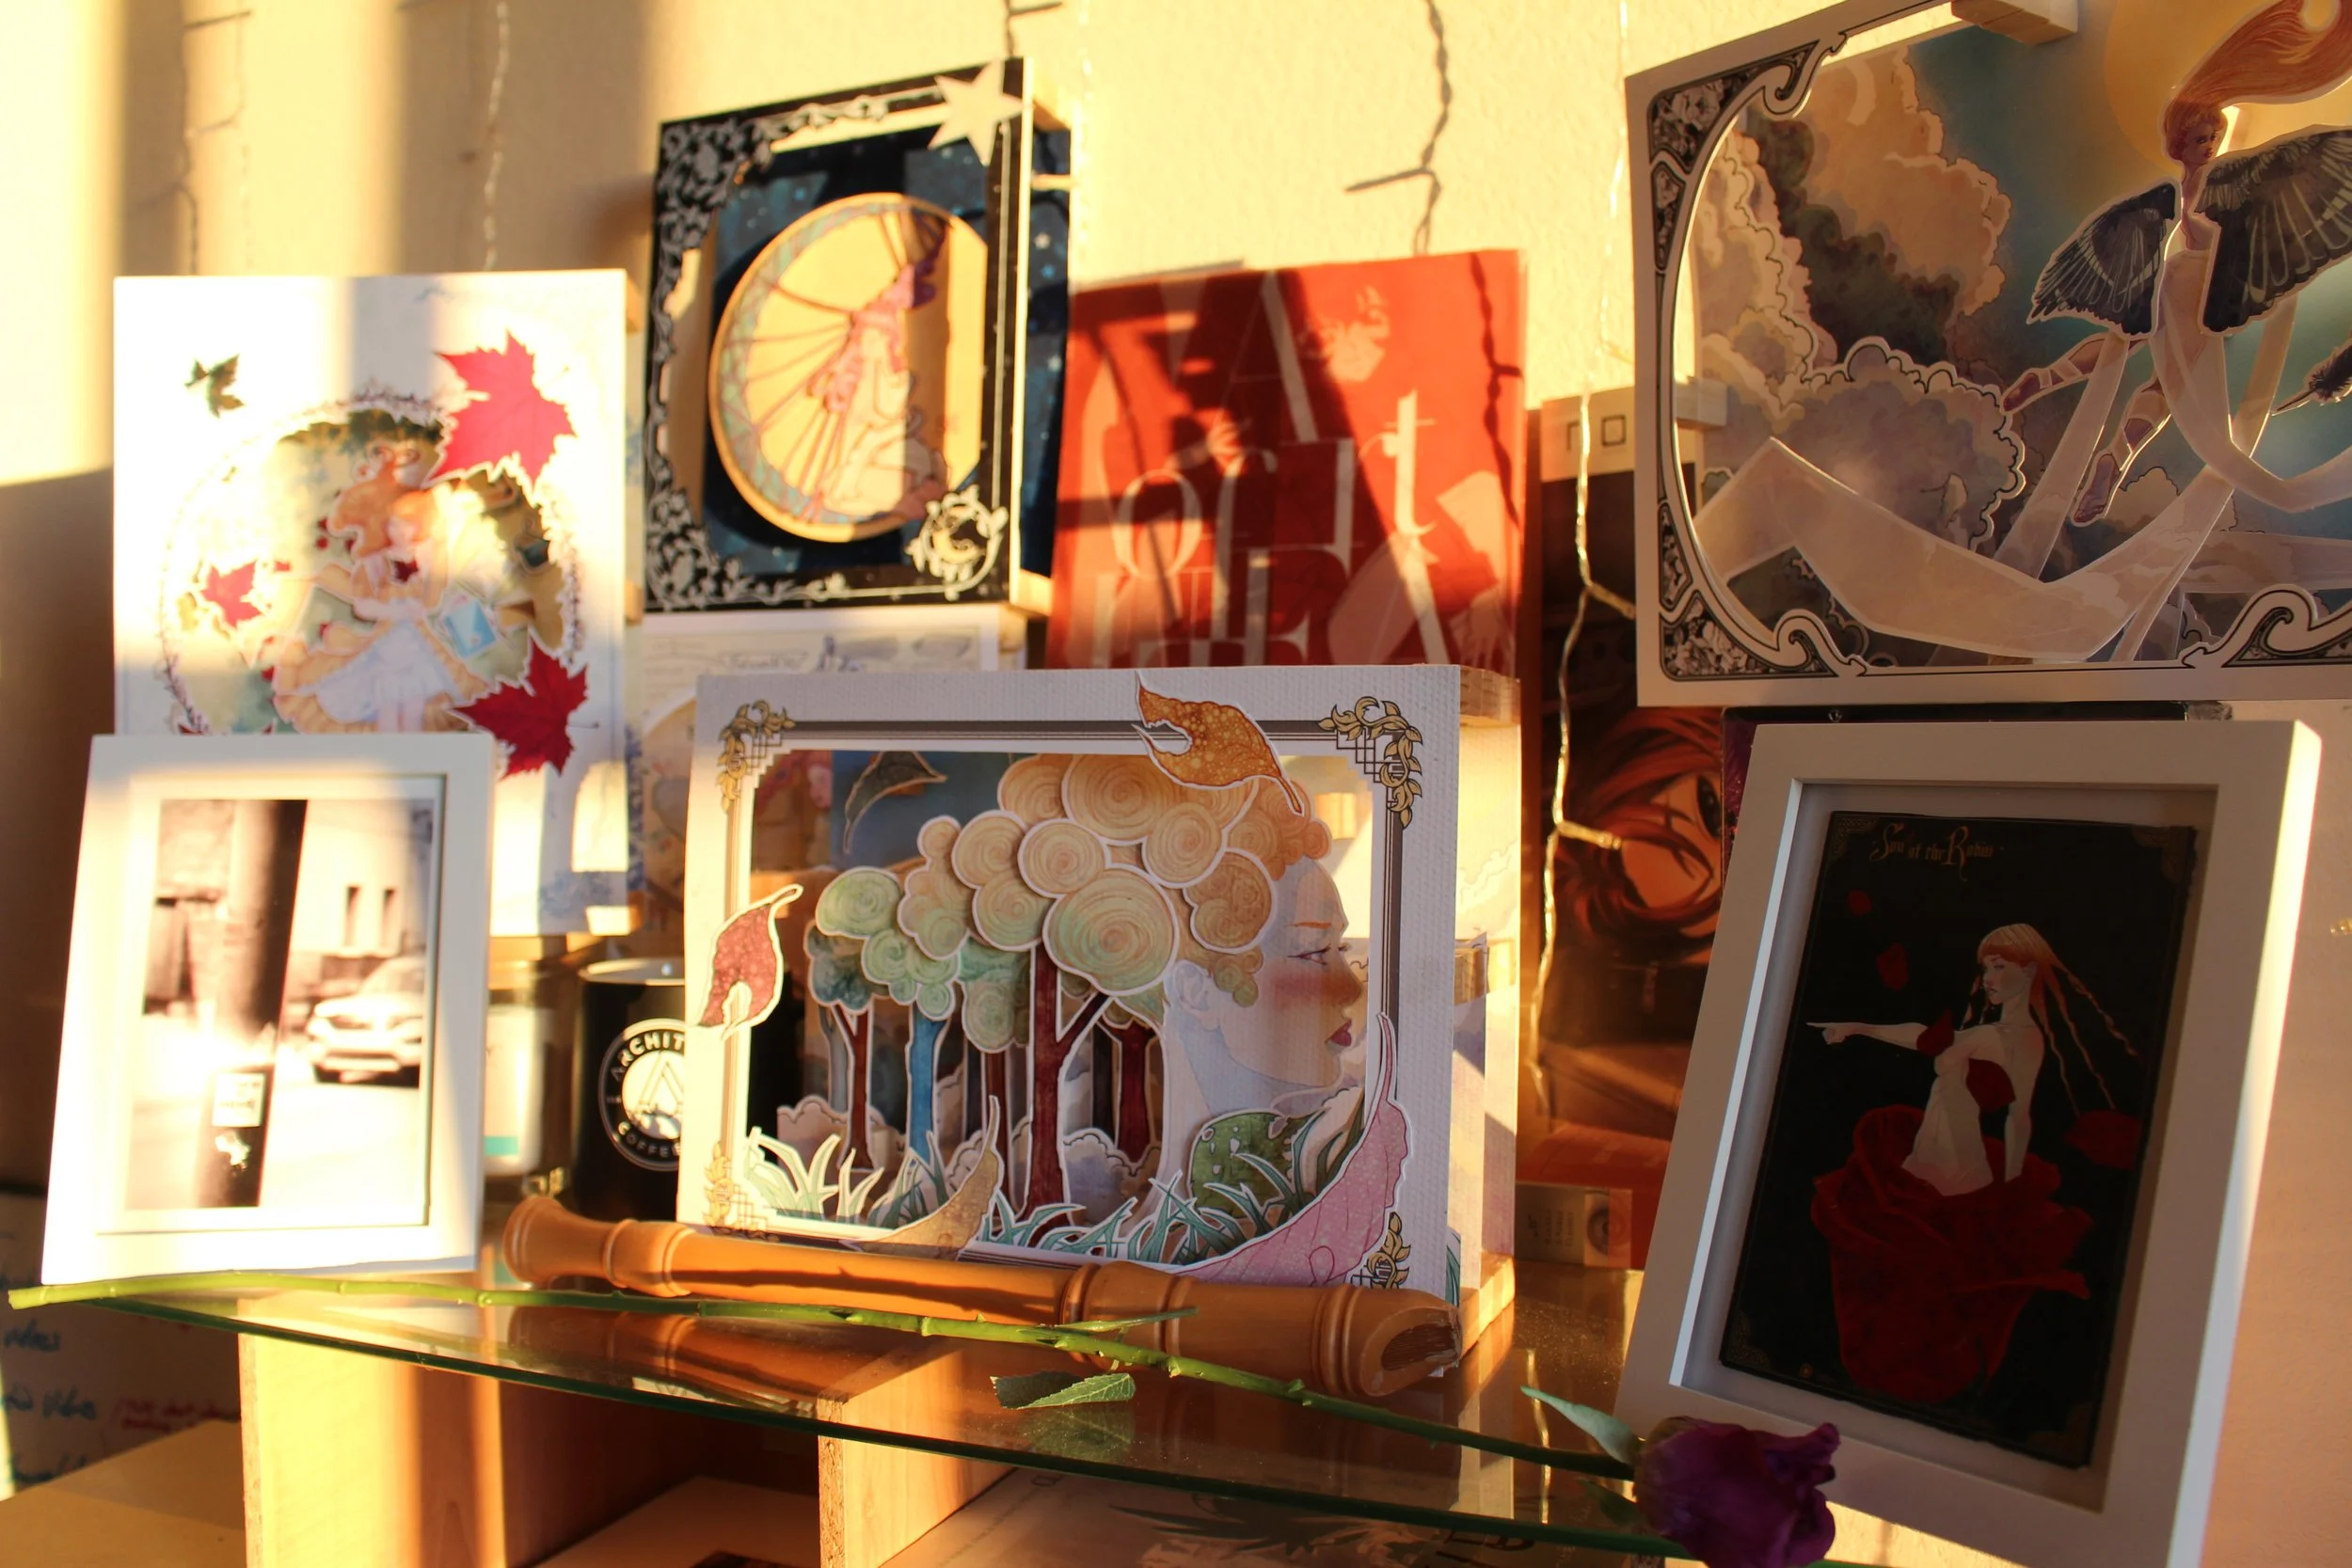
What is a Storybox?
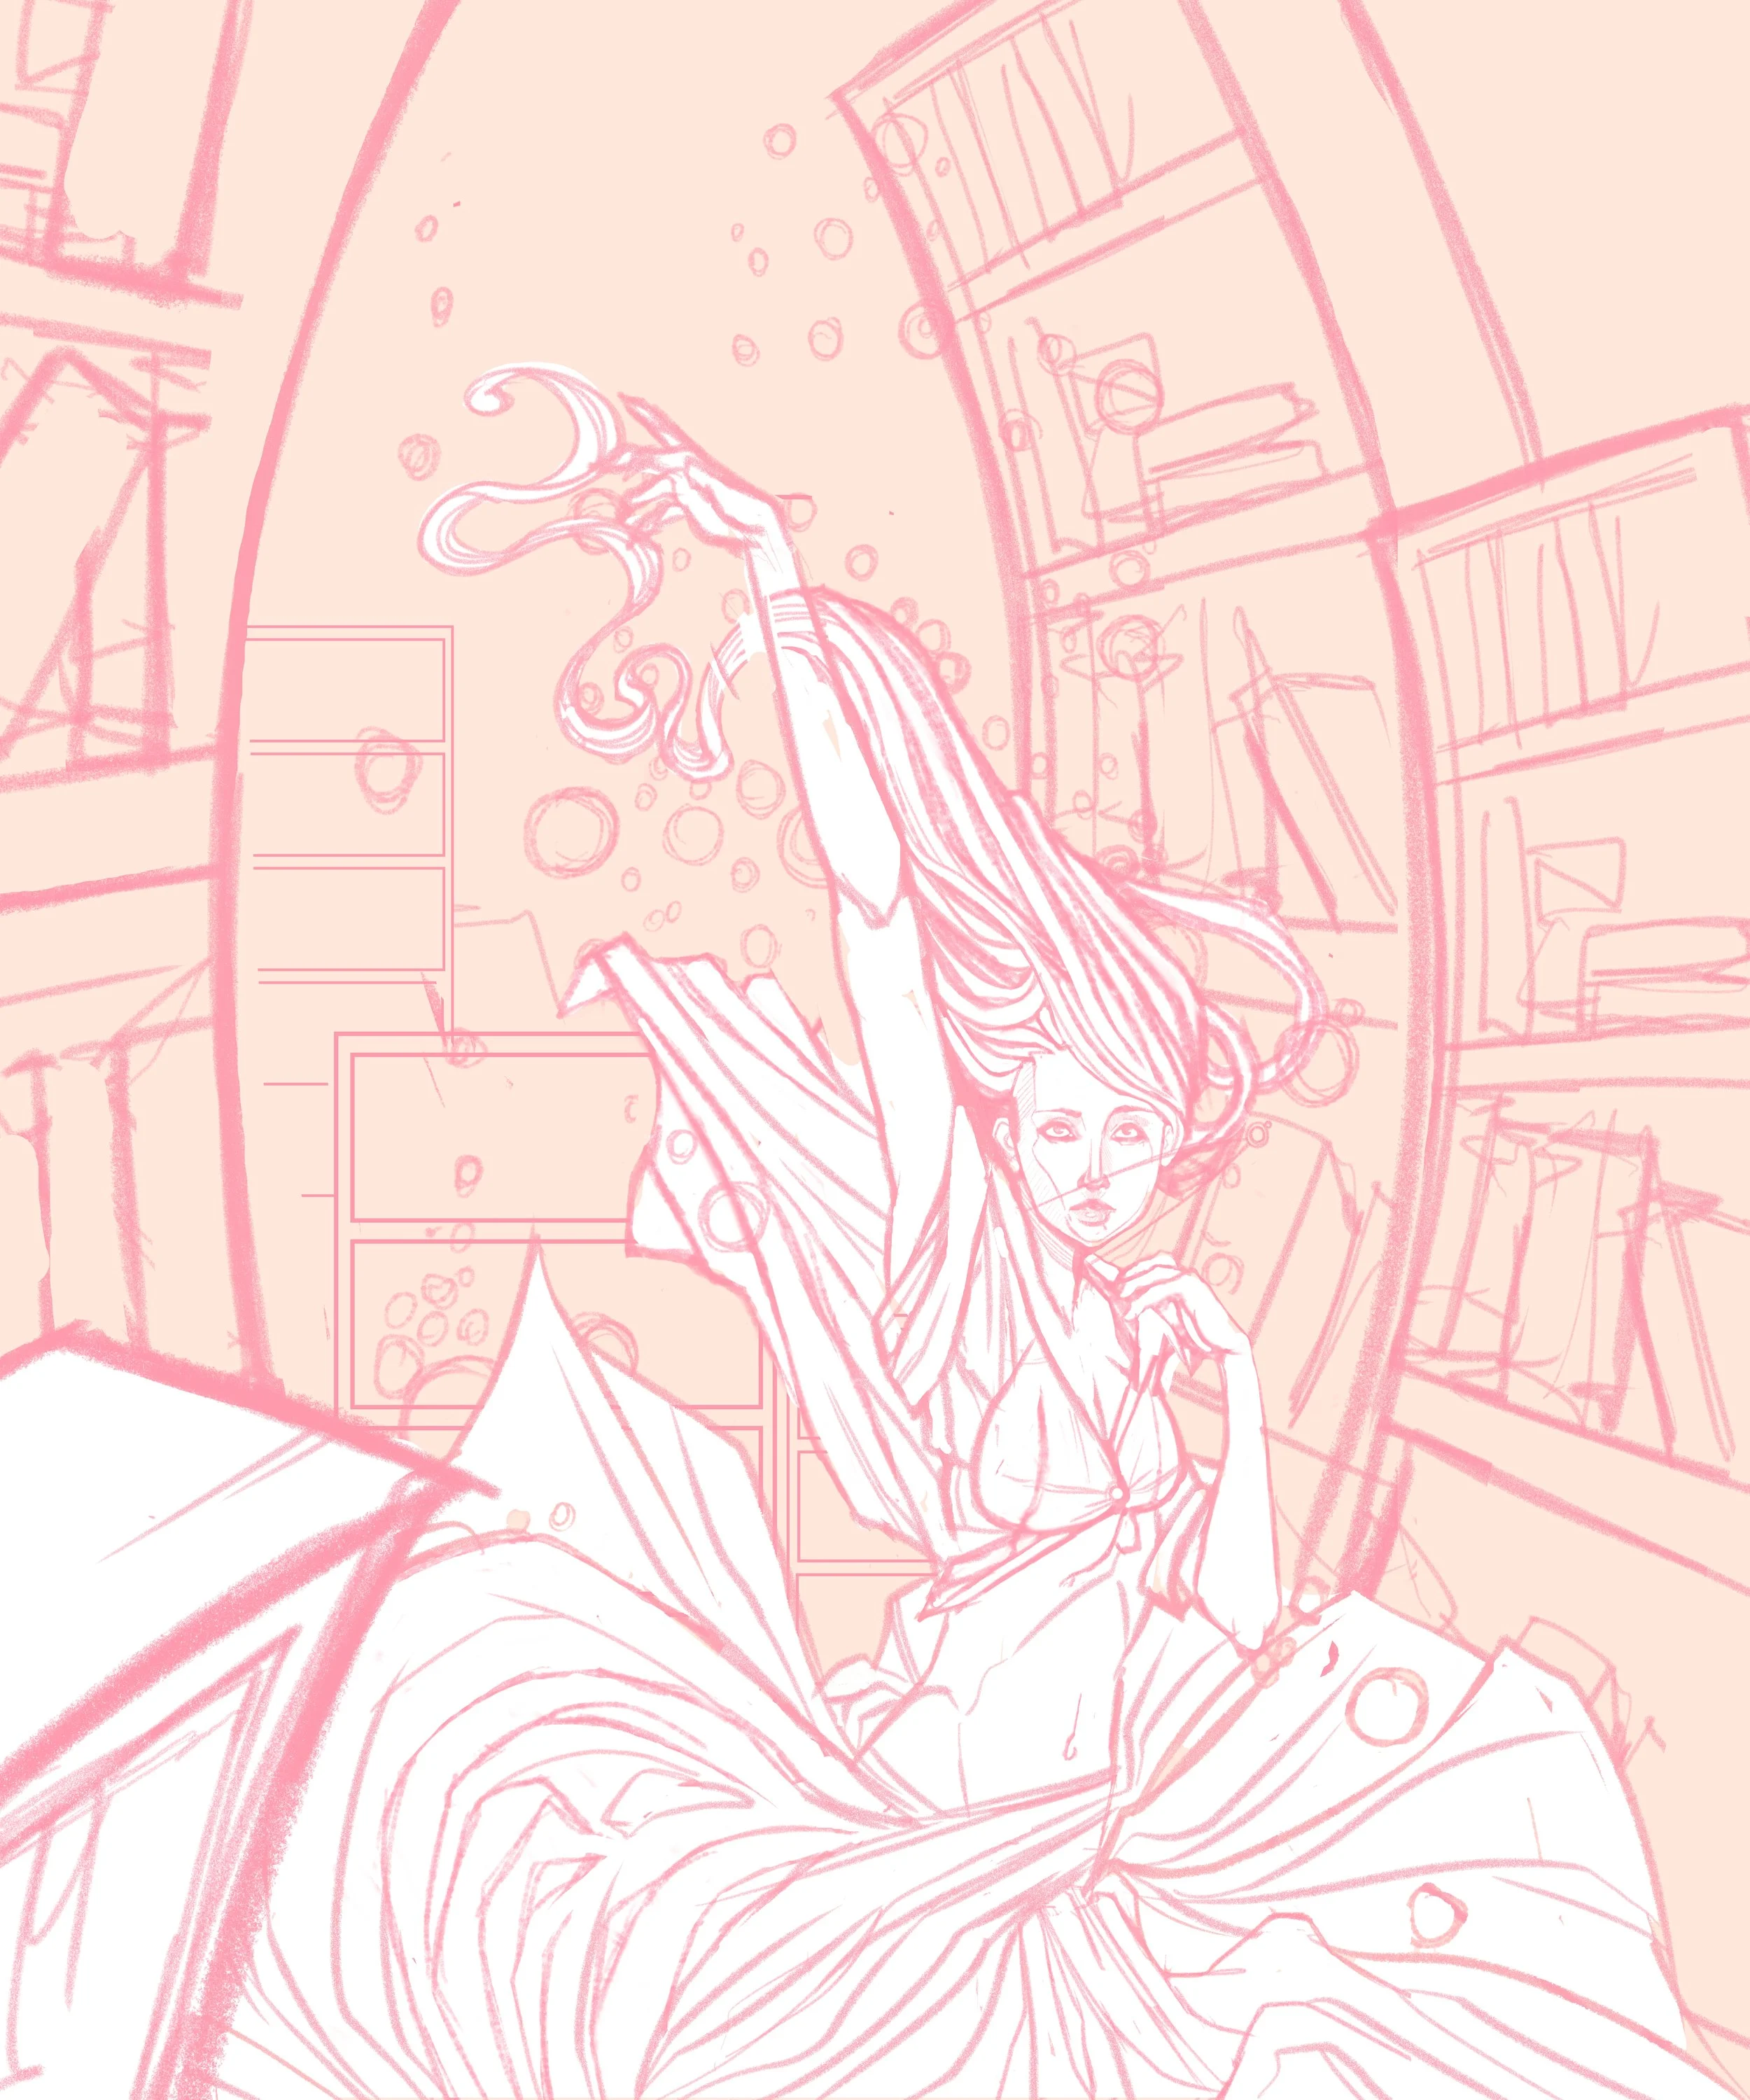
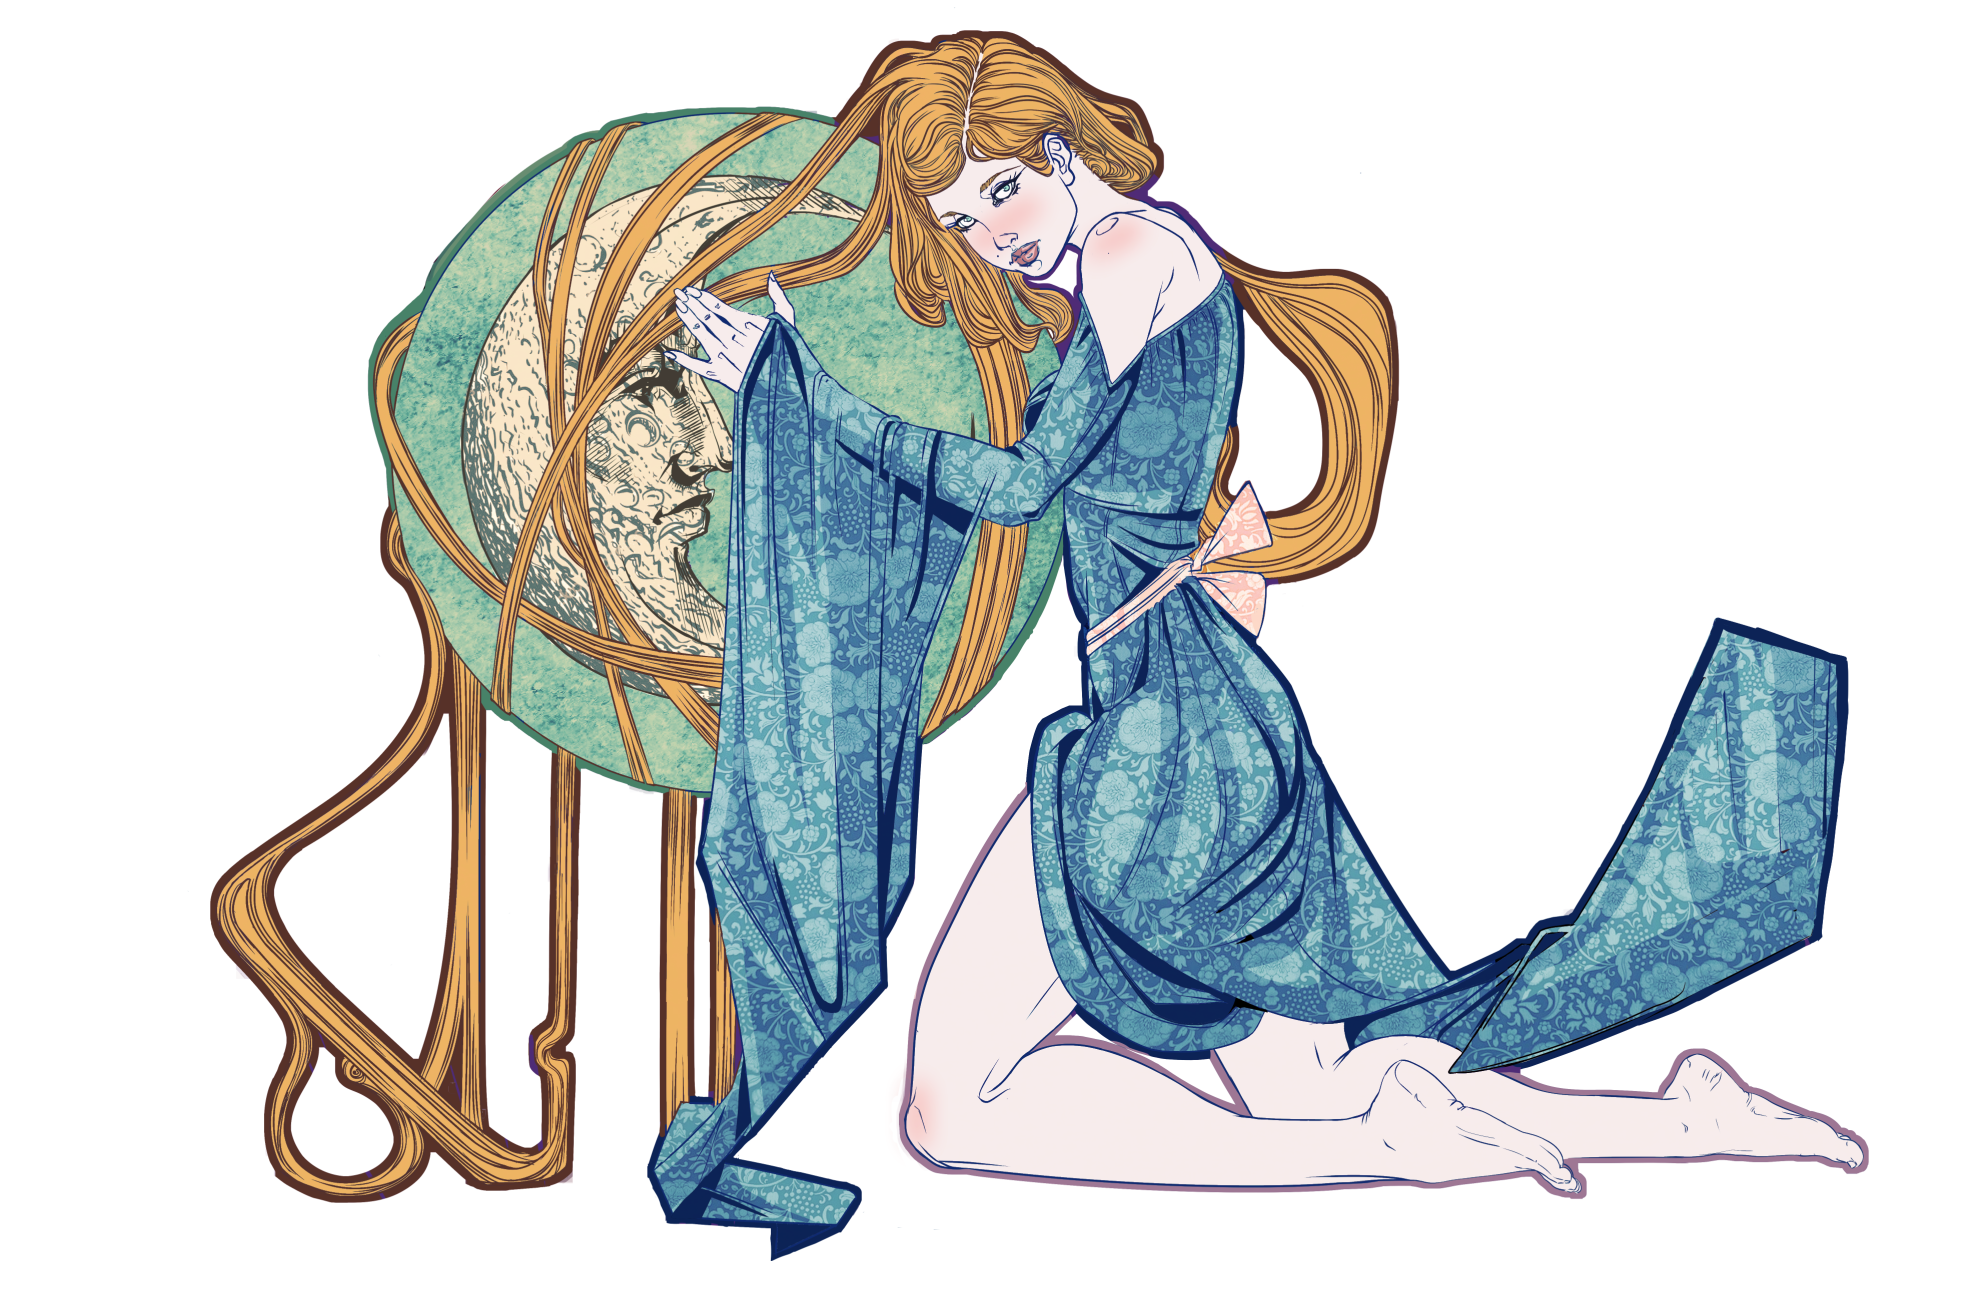
Storyboxes begin their lives as a 2D illustration, but with a catch. While in traditional illustration, objects in the foreground virtually obscure objects in the background - meaning that you only have to draw the parts that the viewer will see - in a storybox it’s another story entirely.
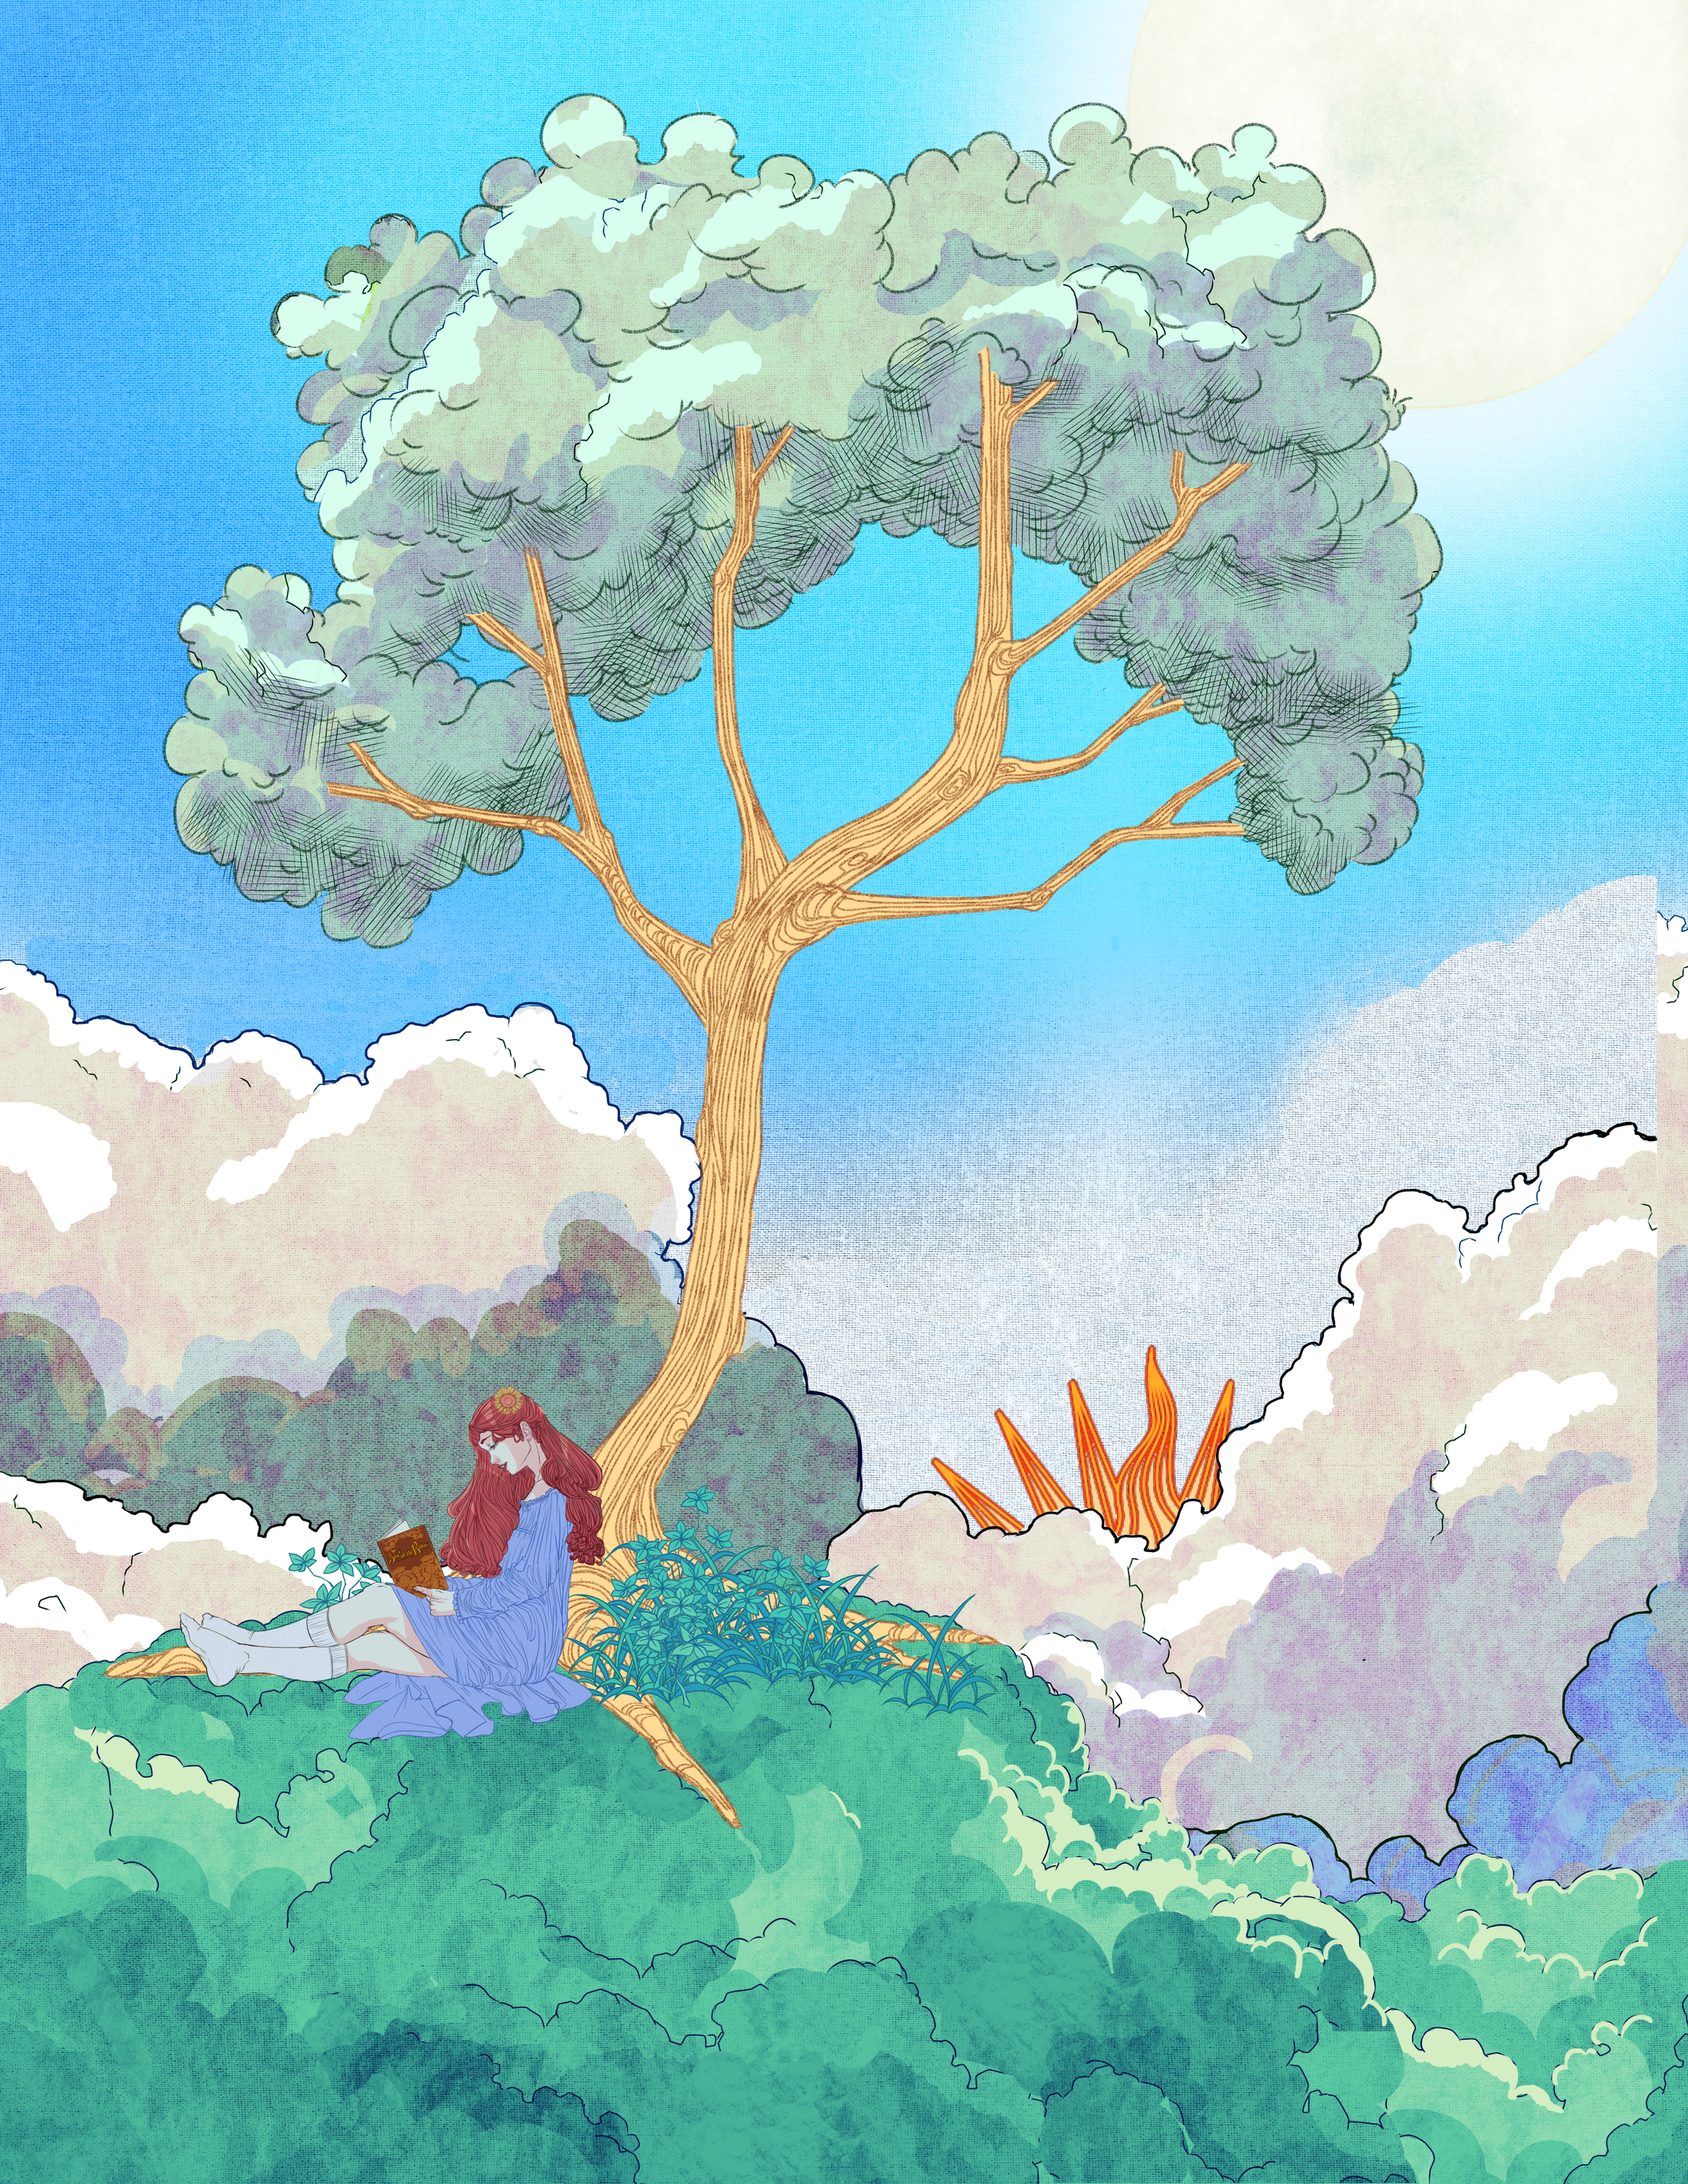
The tree behind a character in a traditional illustration is only partially drawn; everything behind the character only exists in the viewer’s imagination. This means that only the viewable art needs to be drawn.
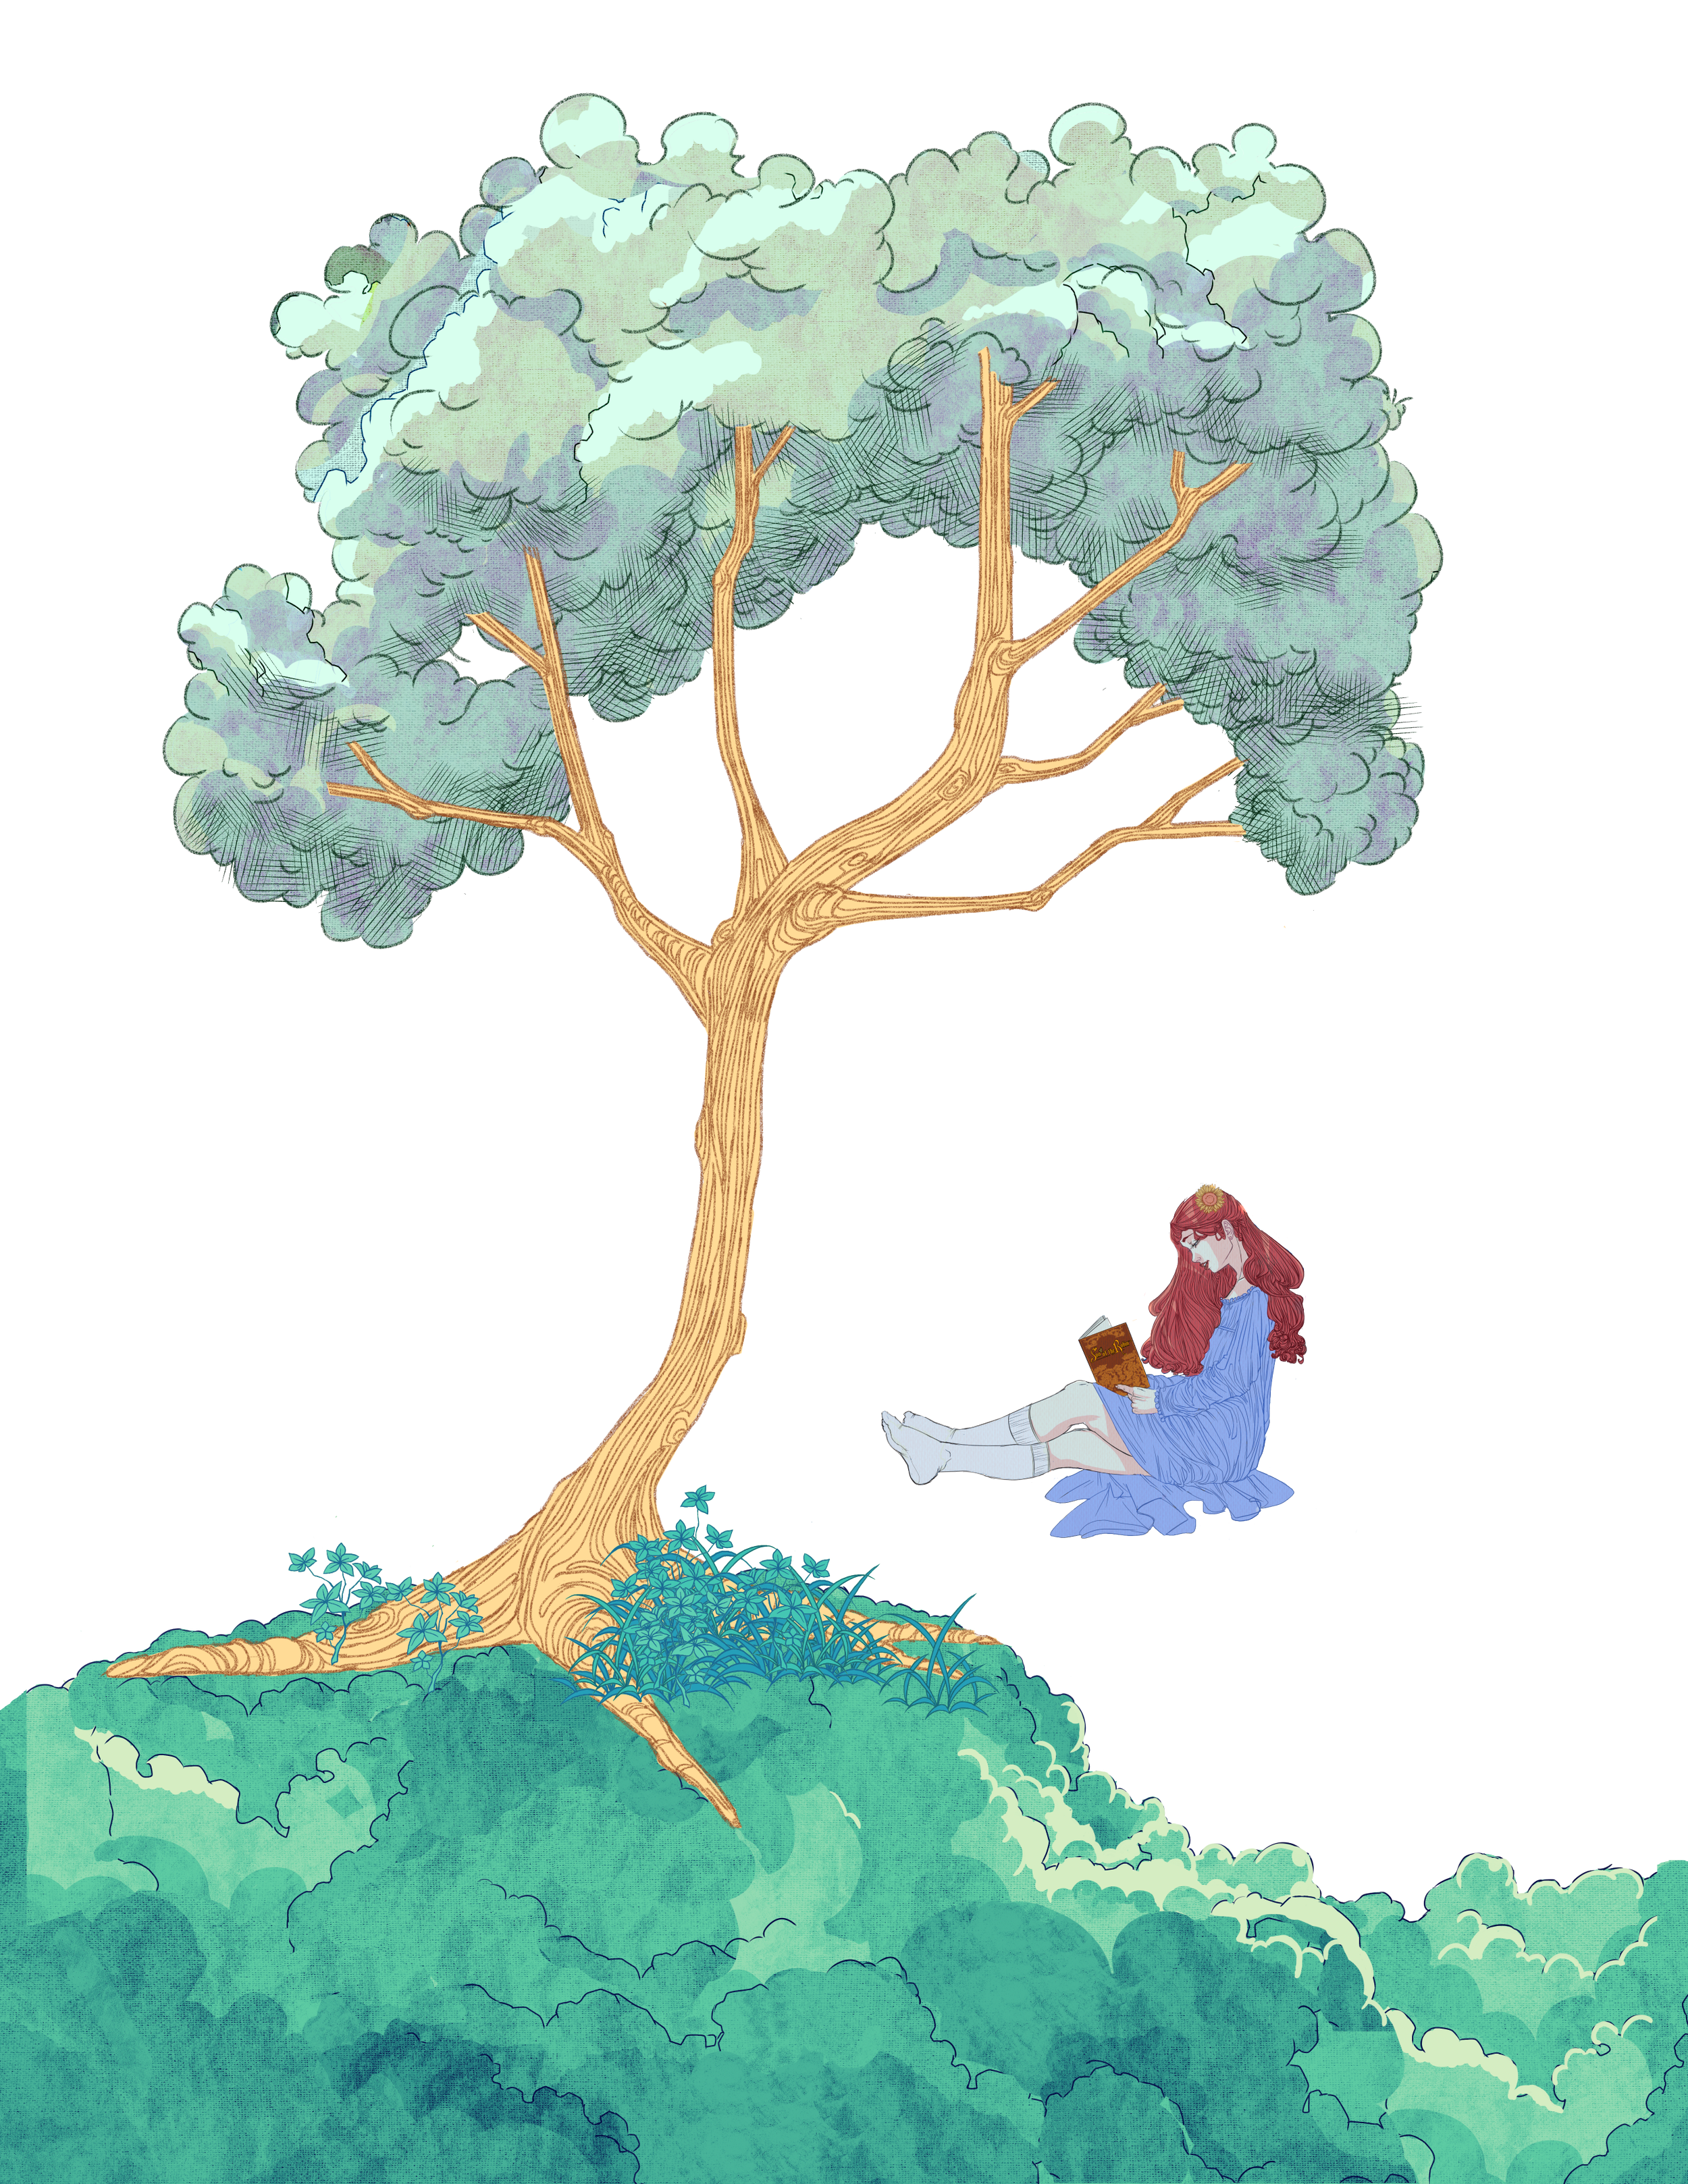
But when designing a Storybox, you have to think about each object as it will exist in it’s own space. That same tree will need to be completely designed, with all of it’s limbs and branches intact, since you - the viewer - will be able to enjoy it from multiple angles. There are no shortcuts in drawing for Storyboxes; if you want the character standing in front of an object or background, that object or background needs to be fully drawn, not just the edges that appear around the character’s body.
If you ever looked curiously at an illustration and thought to yourself “I wonder what the rest of that bridge behind the character would look like…”, in a Storybox you can just tilt the box and find out!
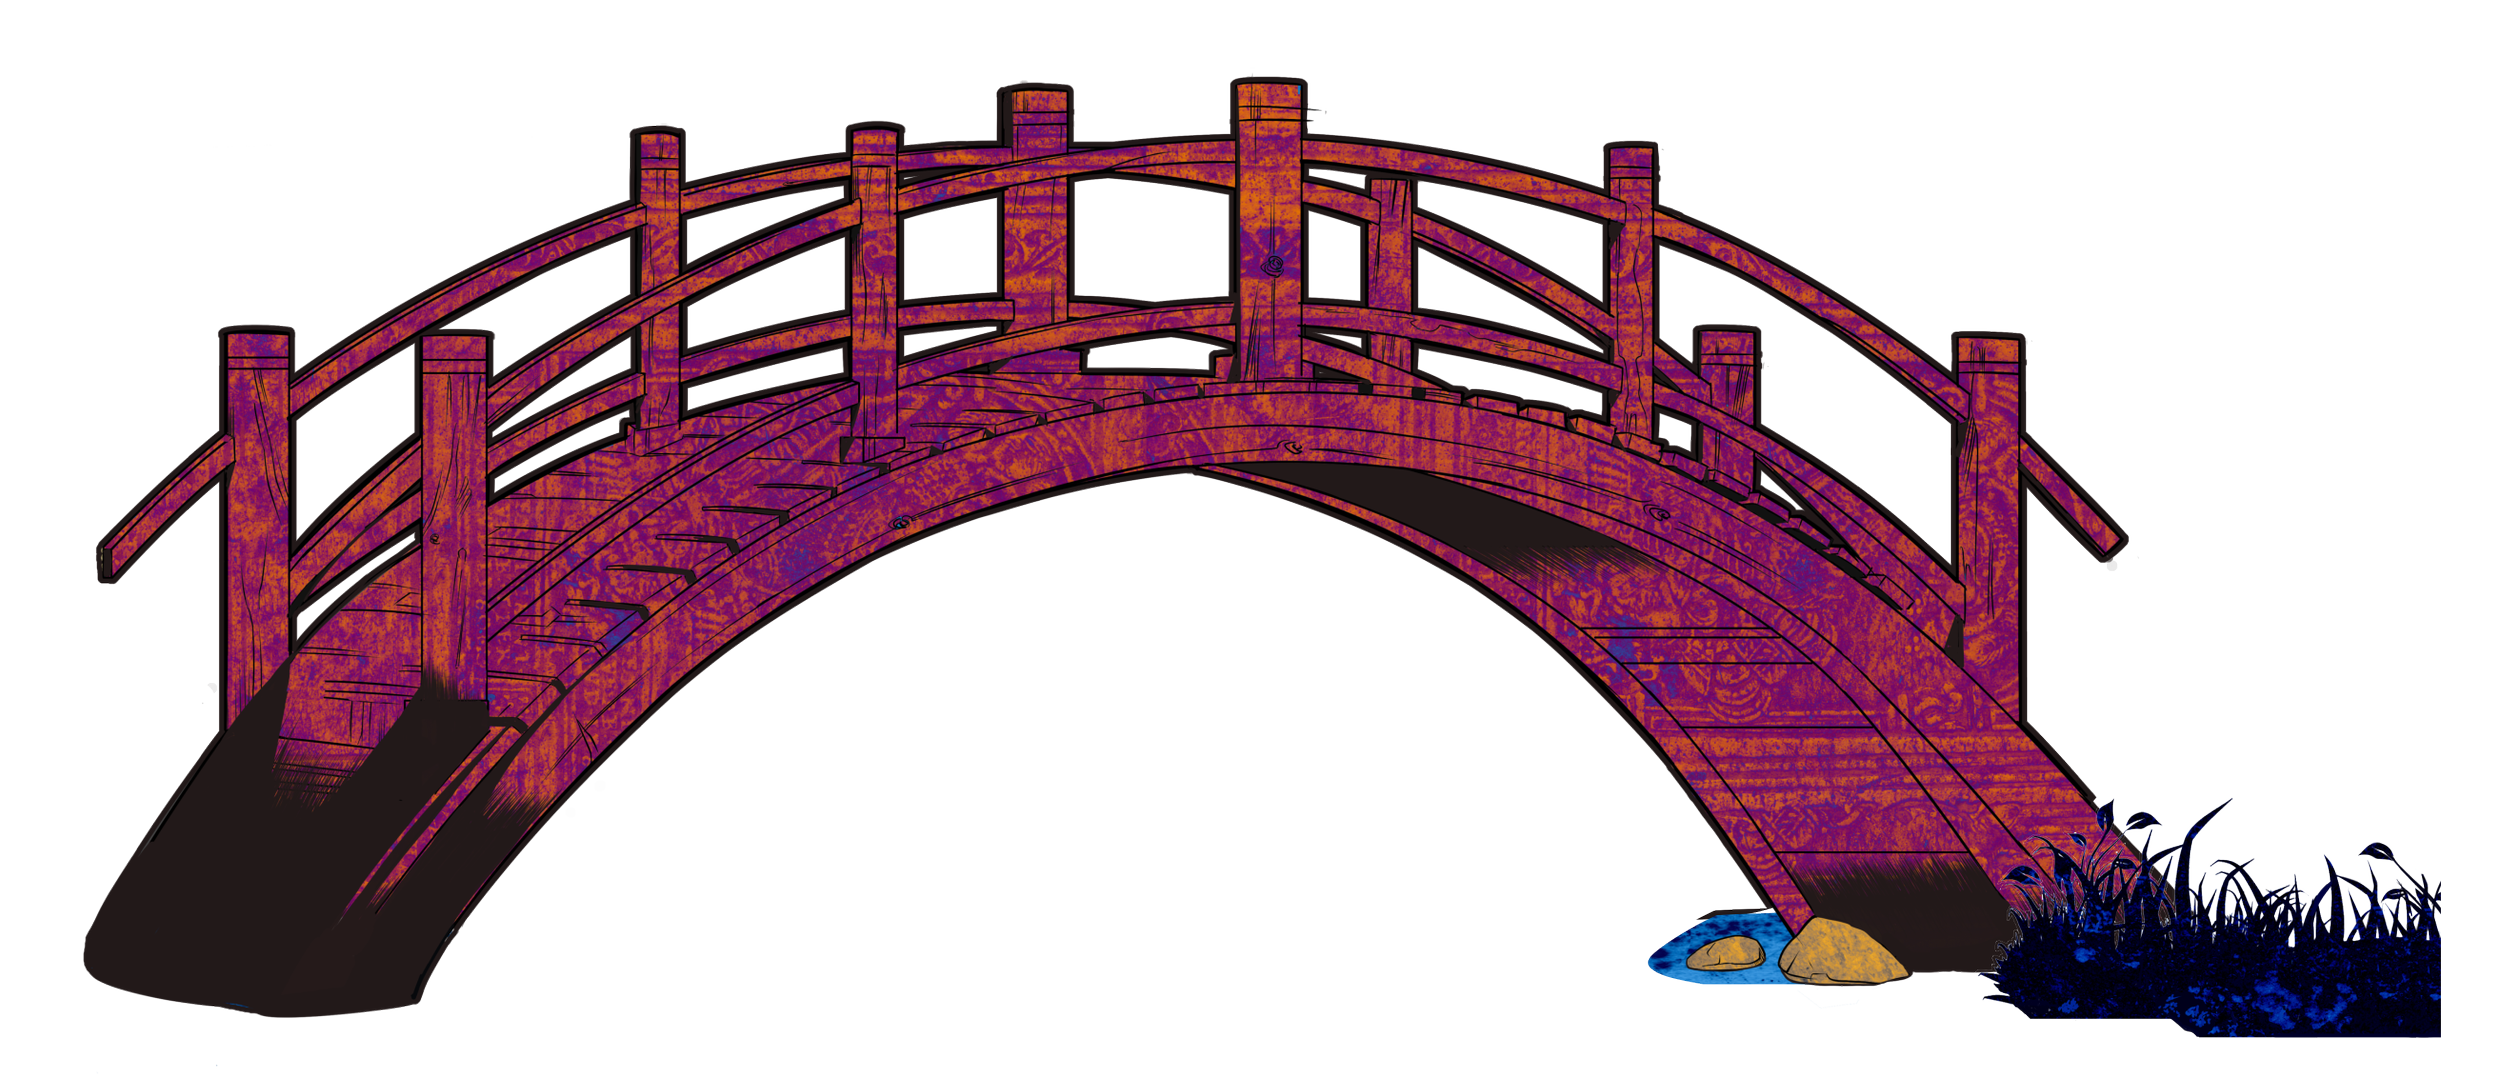
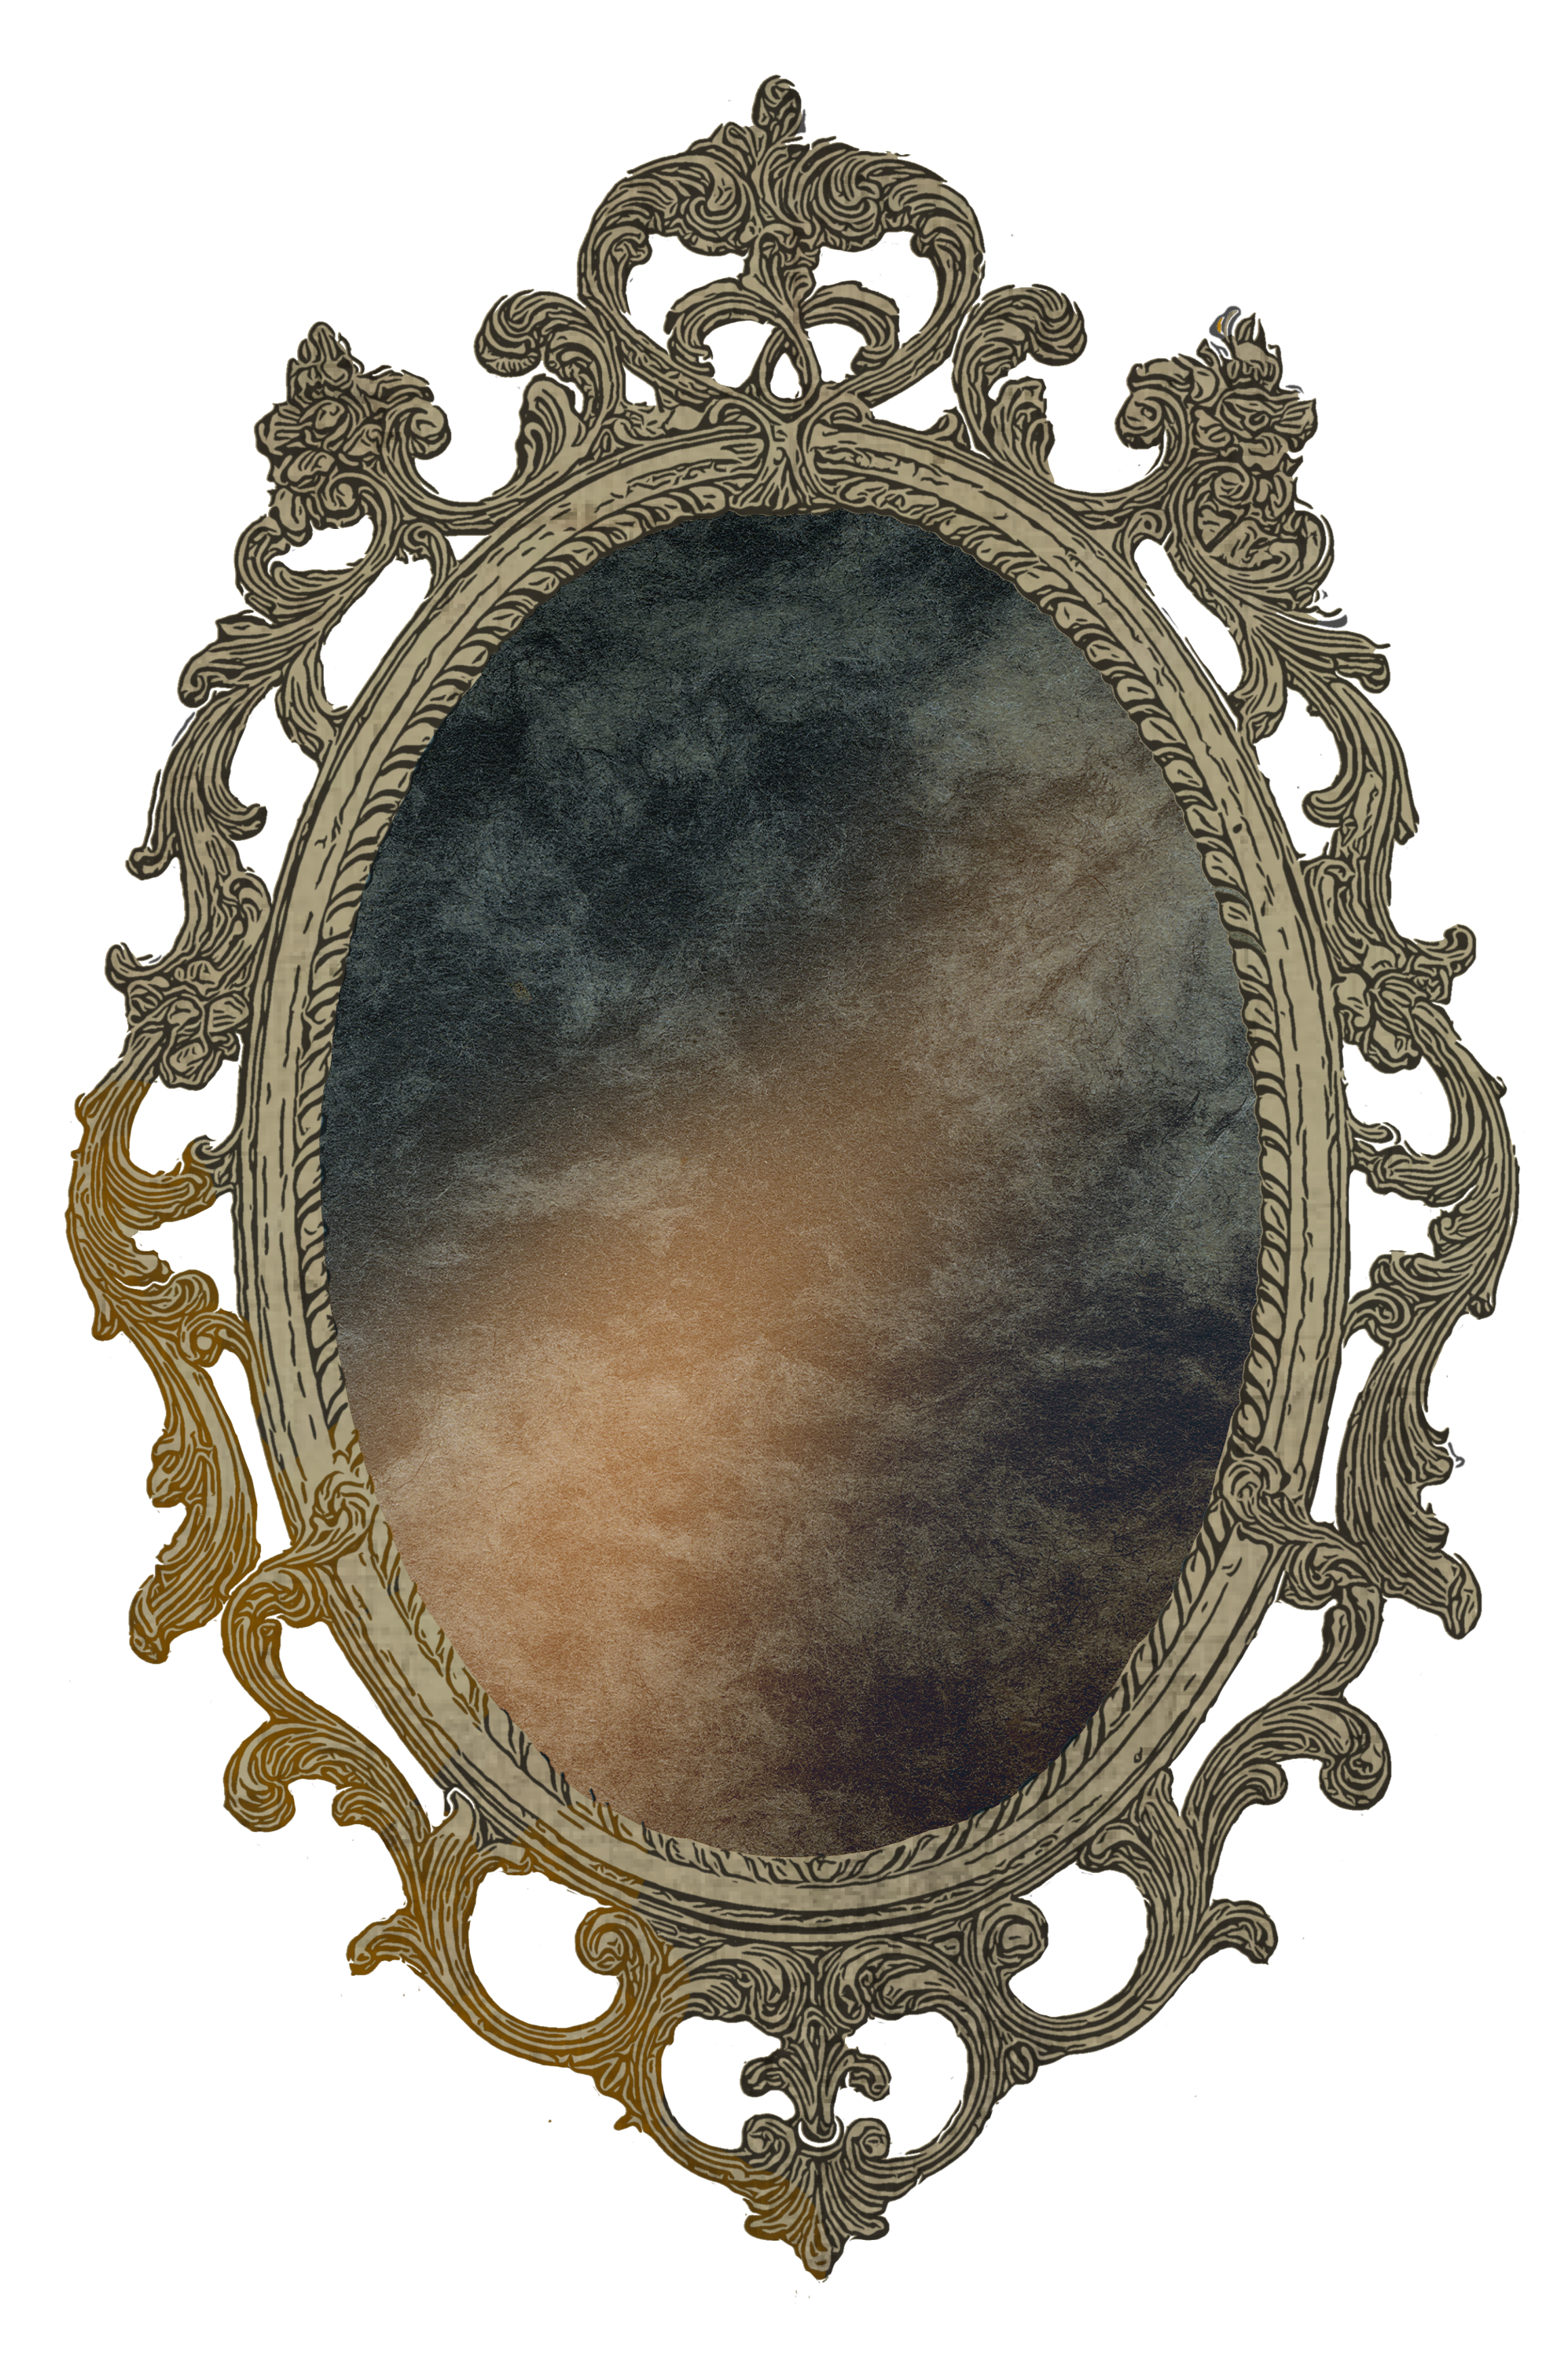
Once the original 2D illustration is finished, I need to separate it into properly-scaled, cut-able pieces. This is known as an asset sheet. Creating the asset sheets can take several days if not weeks of re-designing and planning. Economy of space and design is key here, as I want to keep costs as low as possible in order to maintain the low price! More complex Storyboxes contain not only more asset sheets, but more wooden spacers, more high-density backing board, and more glue; and all of that includes more time. It also means more cutting, which means more wear and tear on all of my blades. All of these things are a factor in determining which pieces are best for Storybox construction, and which are not.
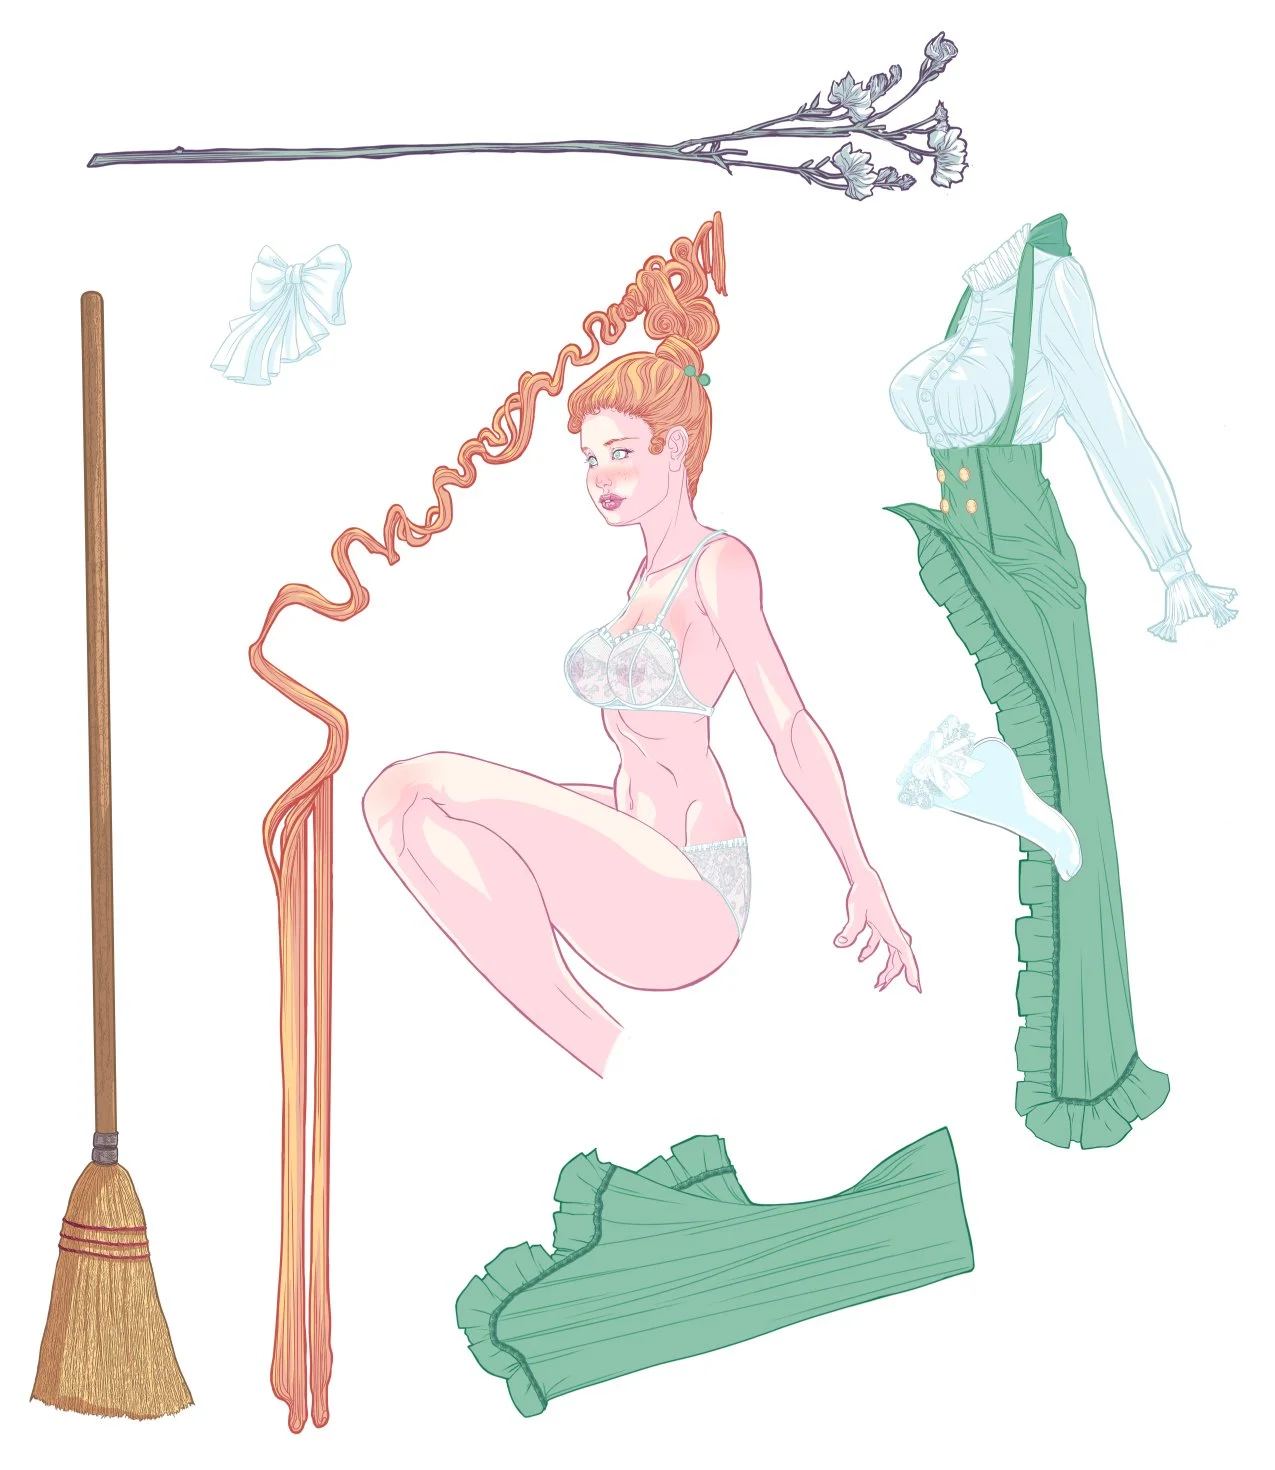
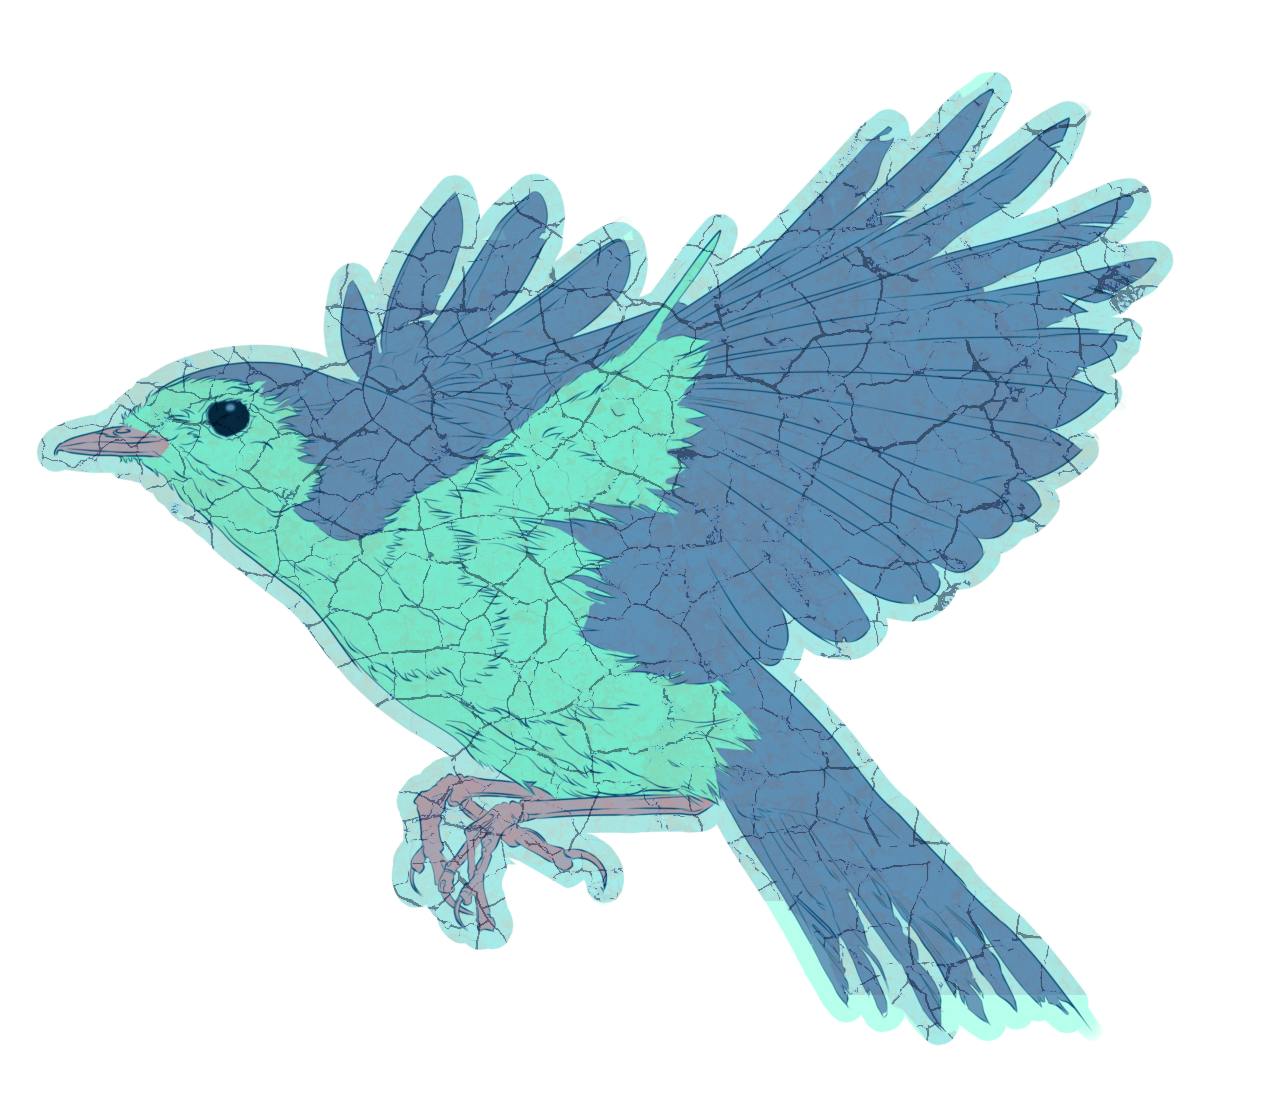
I work in the traditional style, where the form is fully drawn before the clothing. This not only preserves the proper dimensions and shape, but allows the clothing to sit on a higher layer, giving added depth when constructed. This has an additional benefit of allowing me to easily change outfits for future variants and special orders!
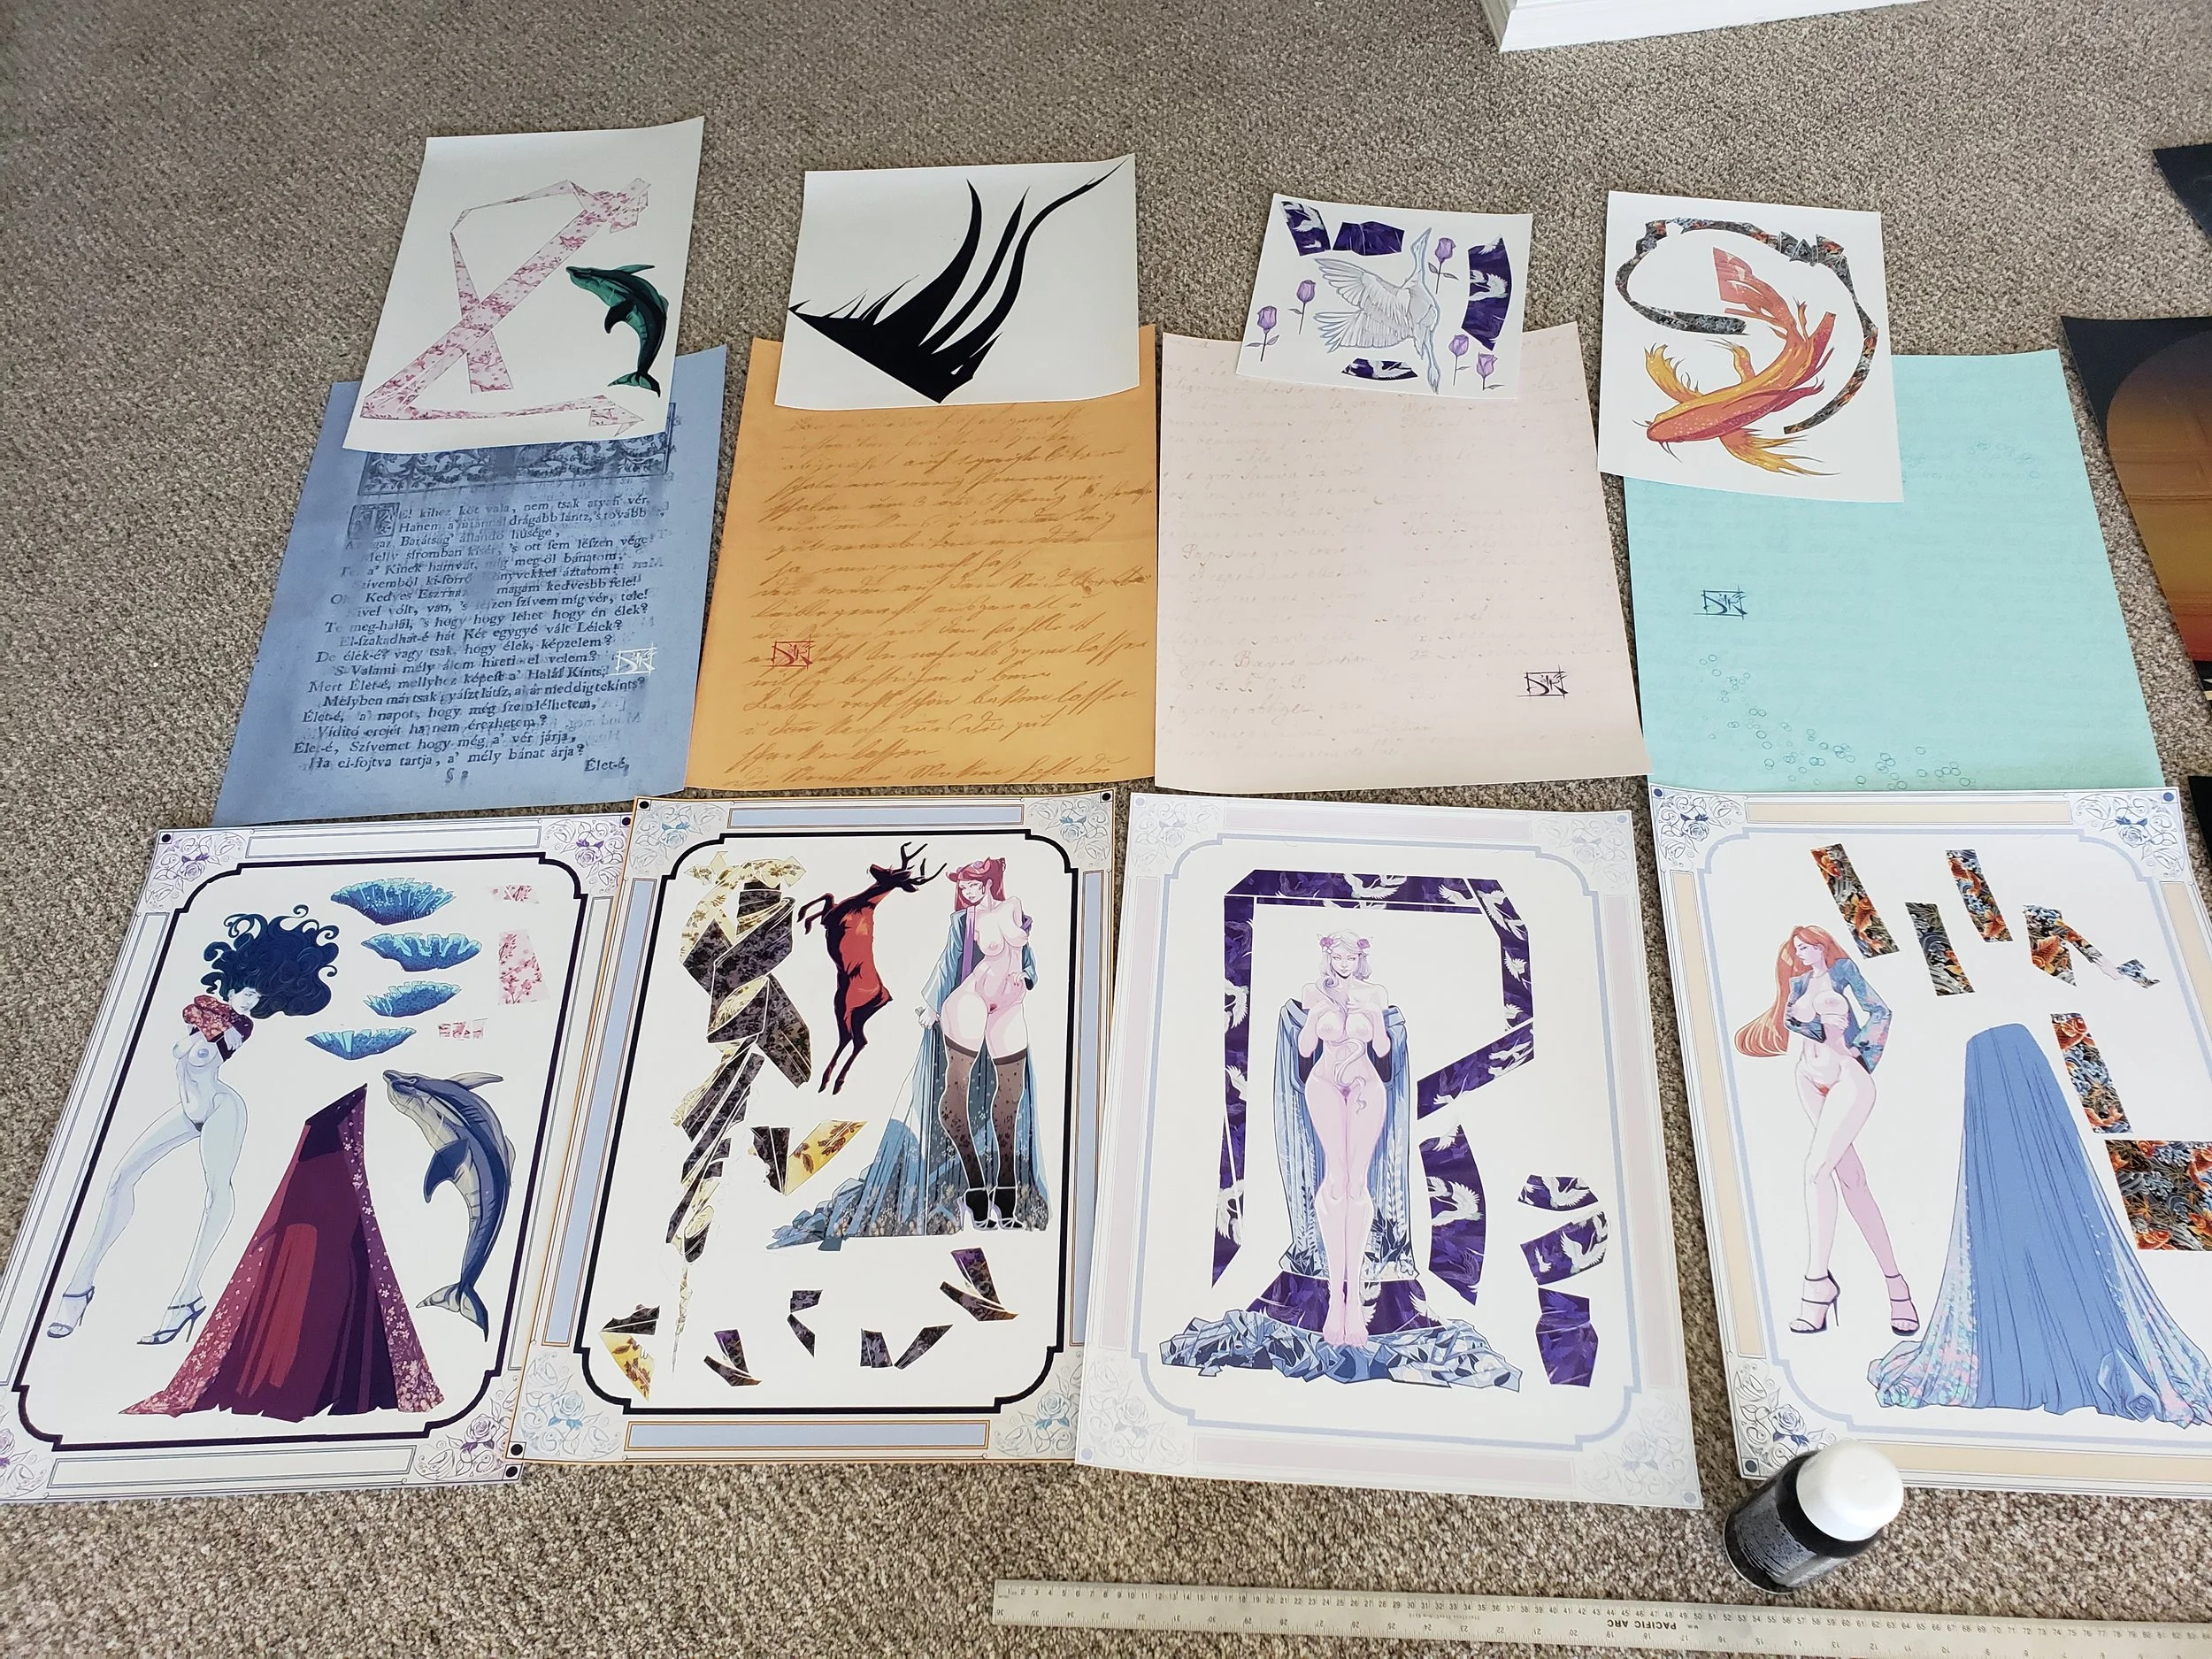
The asset sheets are then printed using a high-quality personal tank printer. All work - from the smallest to the largest job - is done from my studio, by me.
After printing is complete and checked for consistency or errors, the asset sheets are then sprayed with an aerosol glue, and affixed to card stock or backing board. The portal (the front piece) and the background currently use a high grade/high-density Strathmore backing, which is difficult to cut but is worth it for the durability and quality.
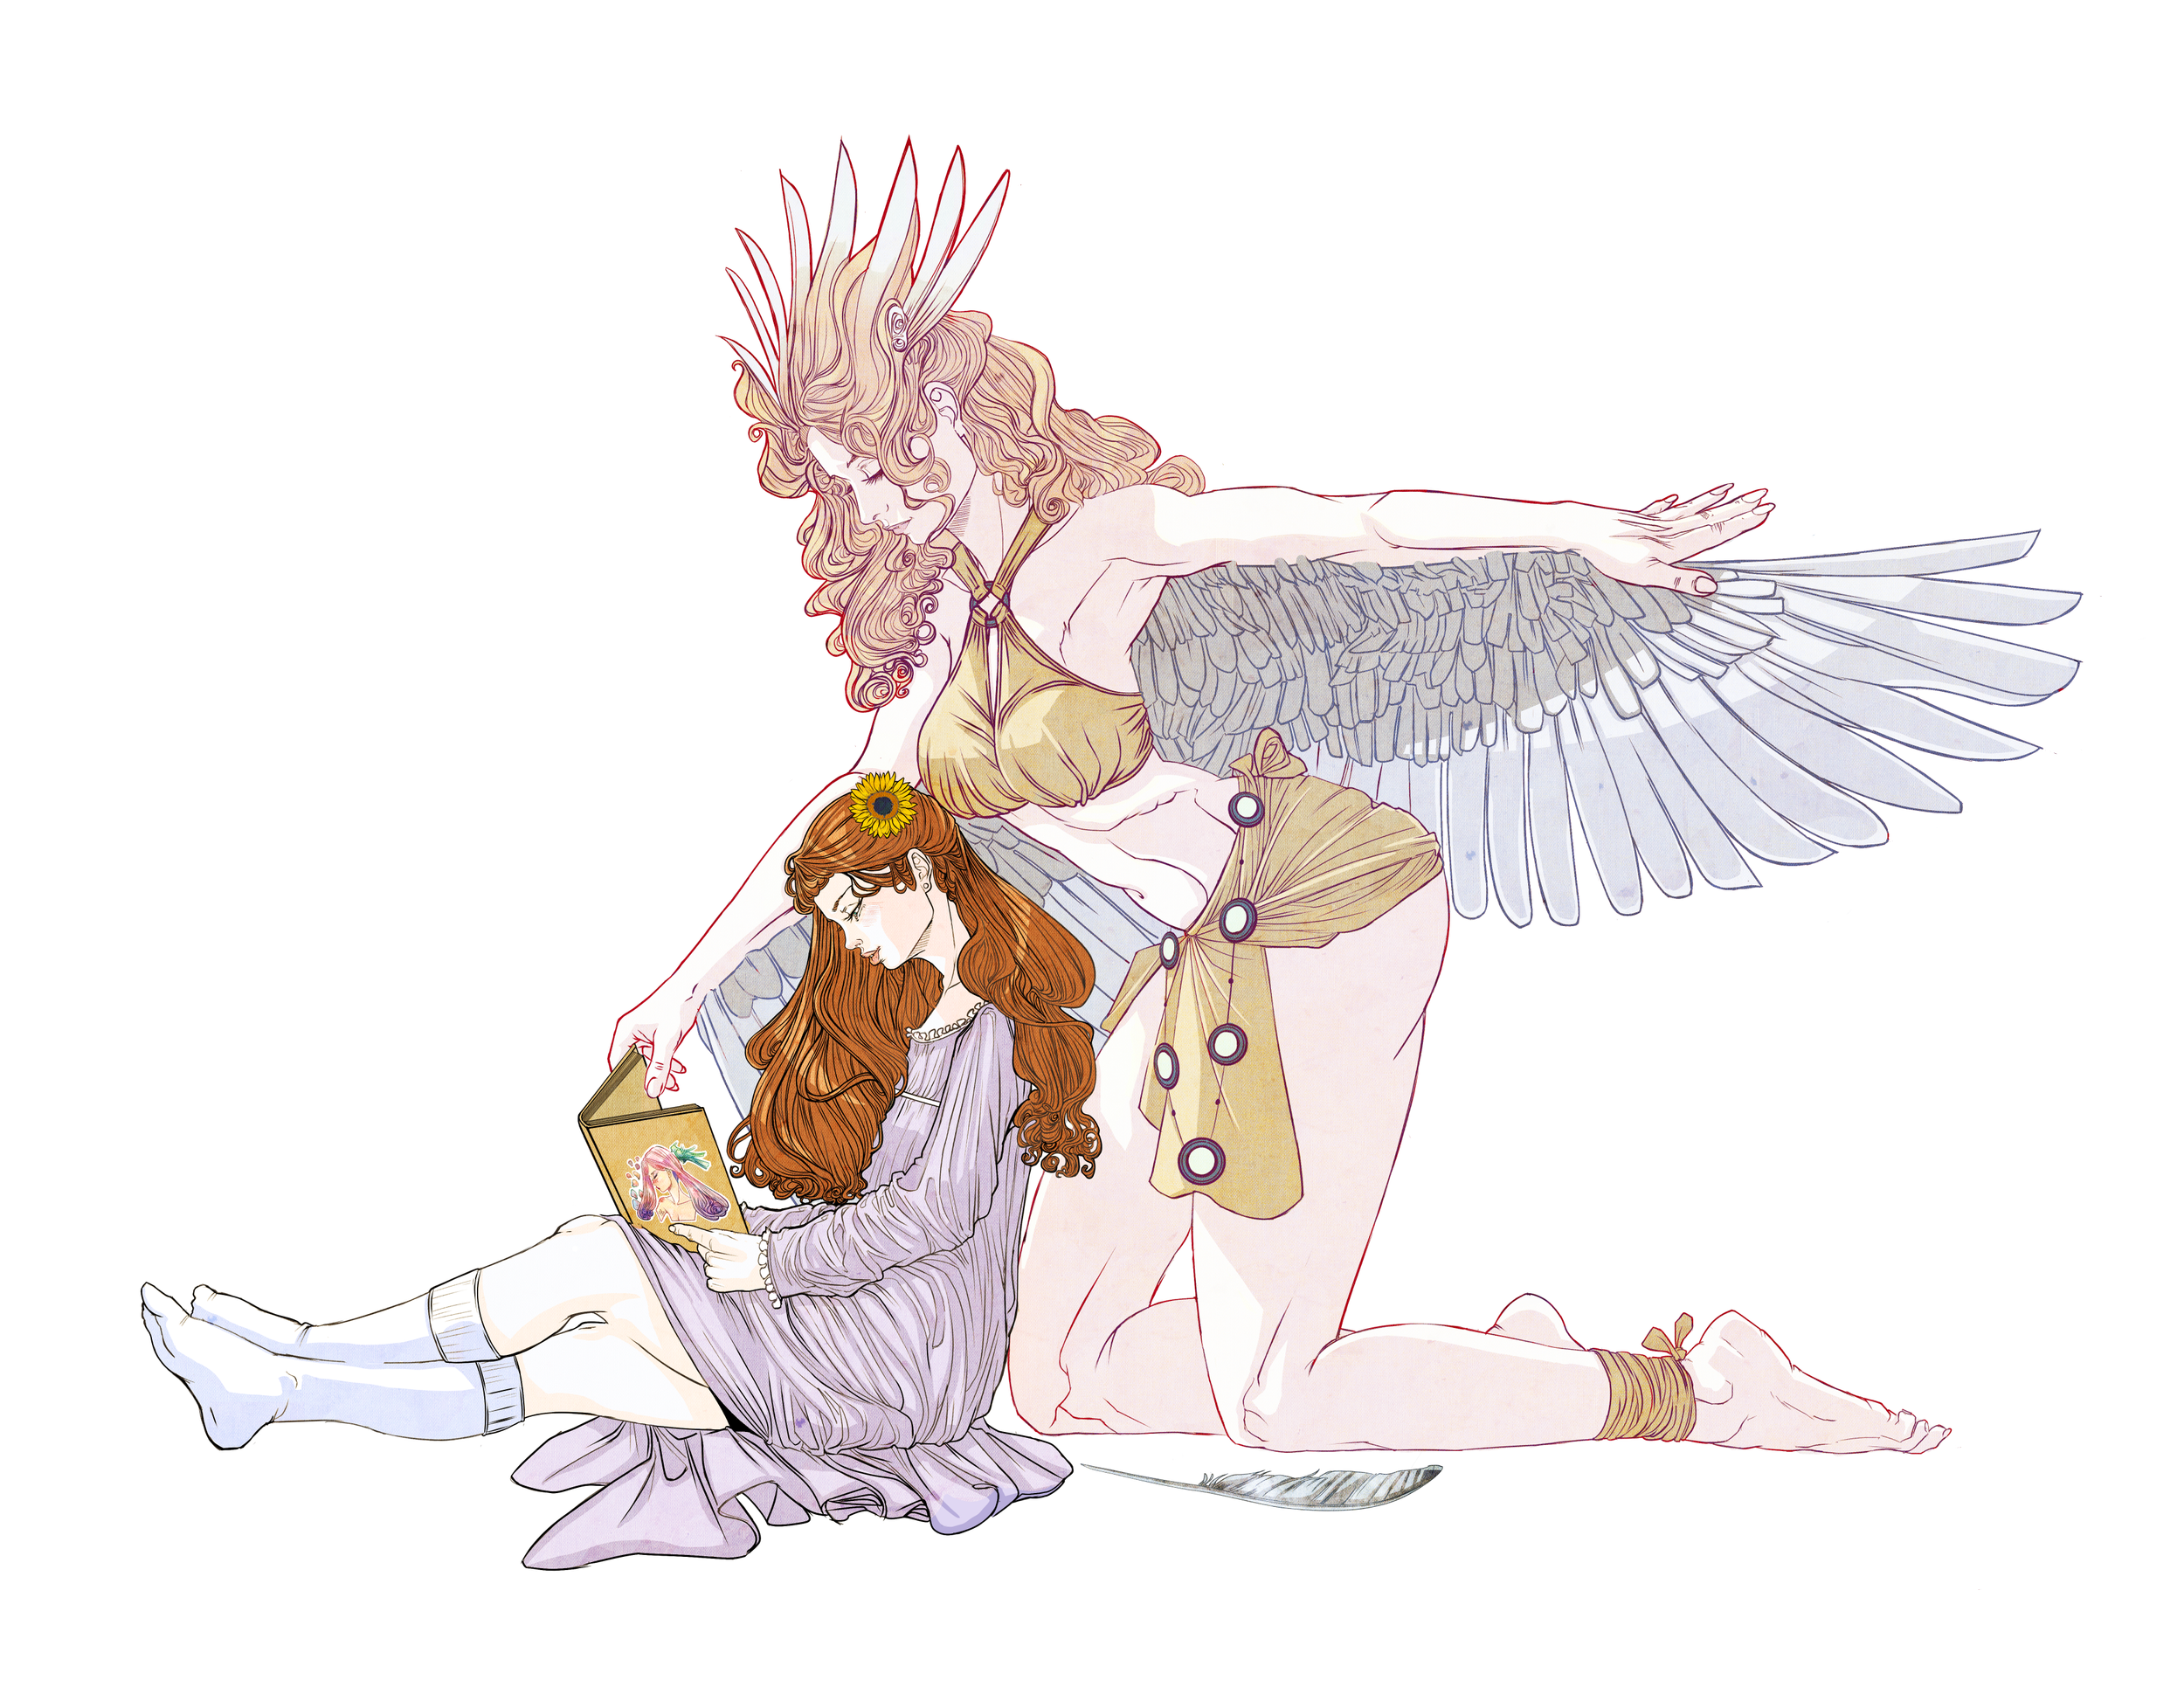
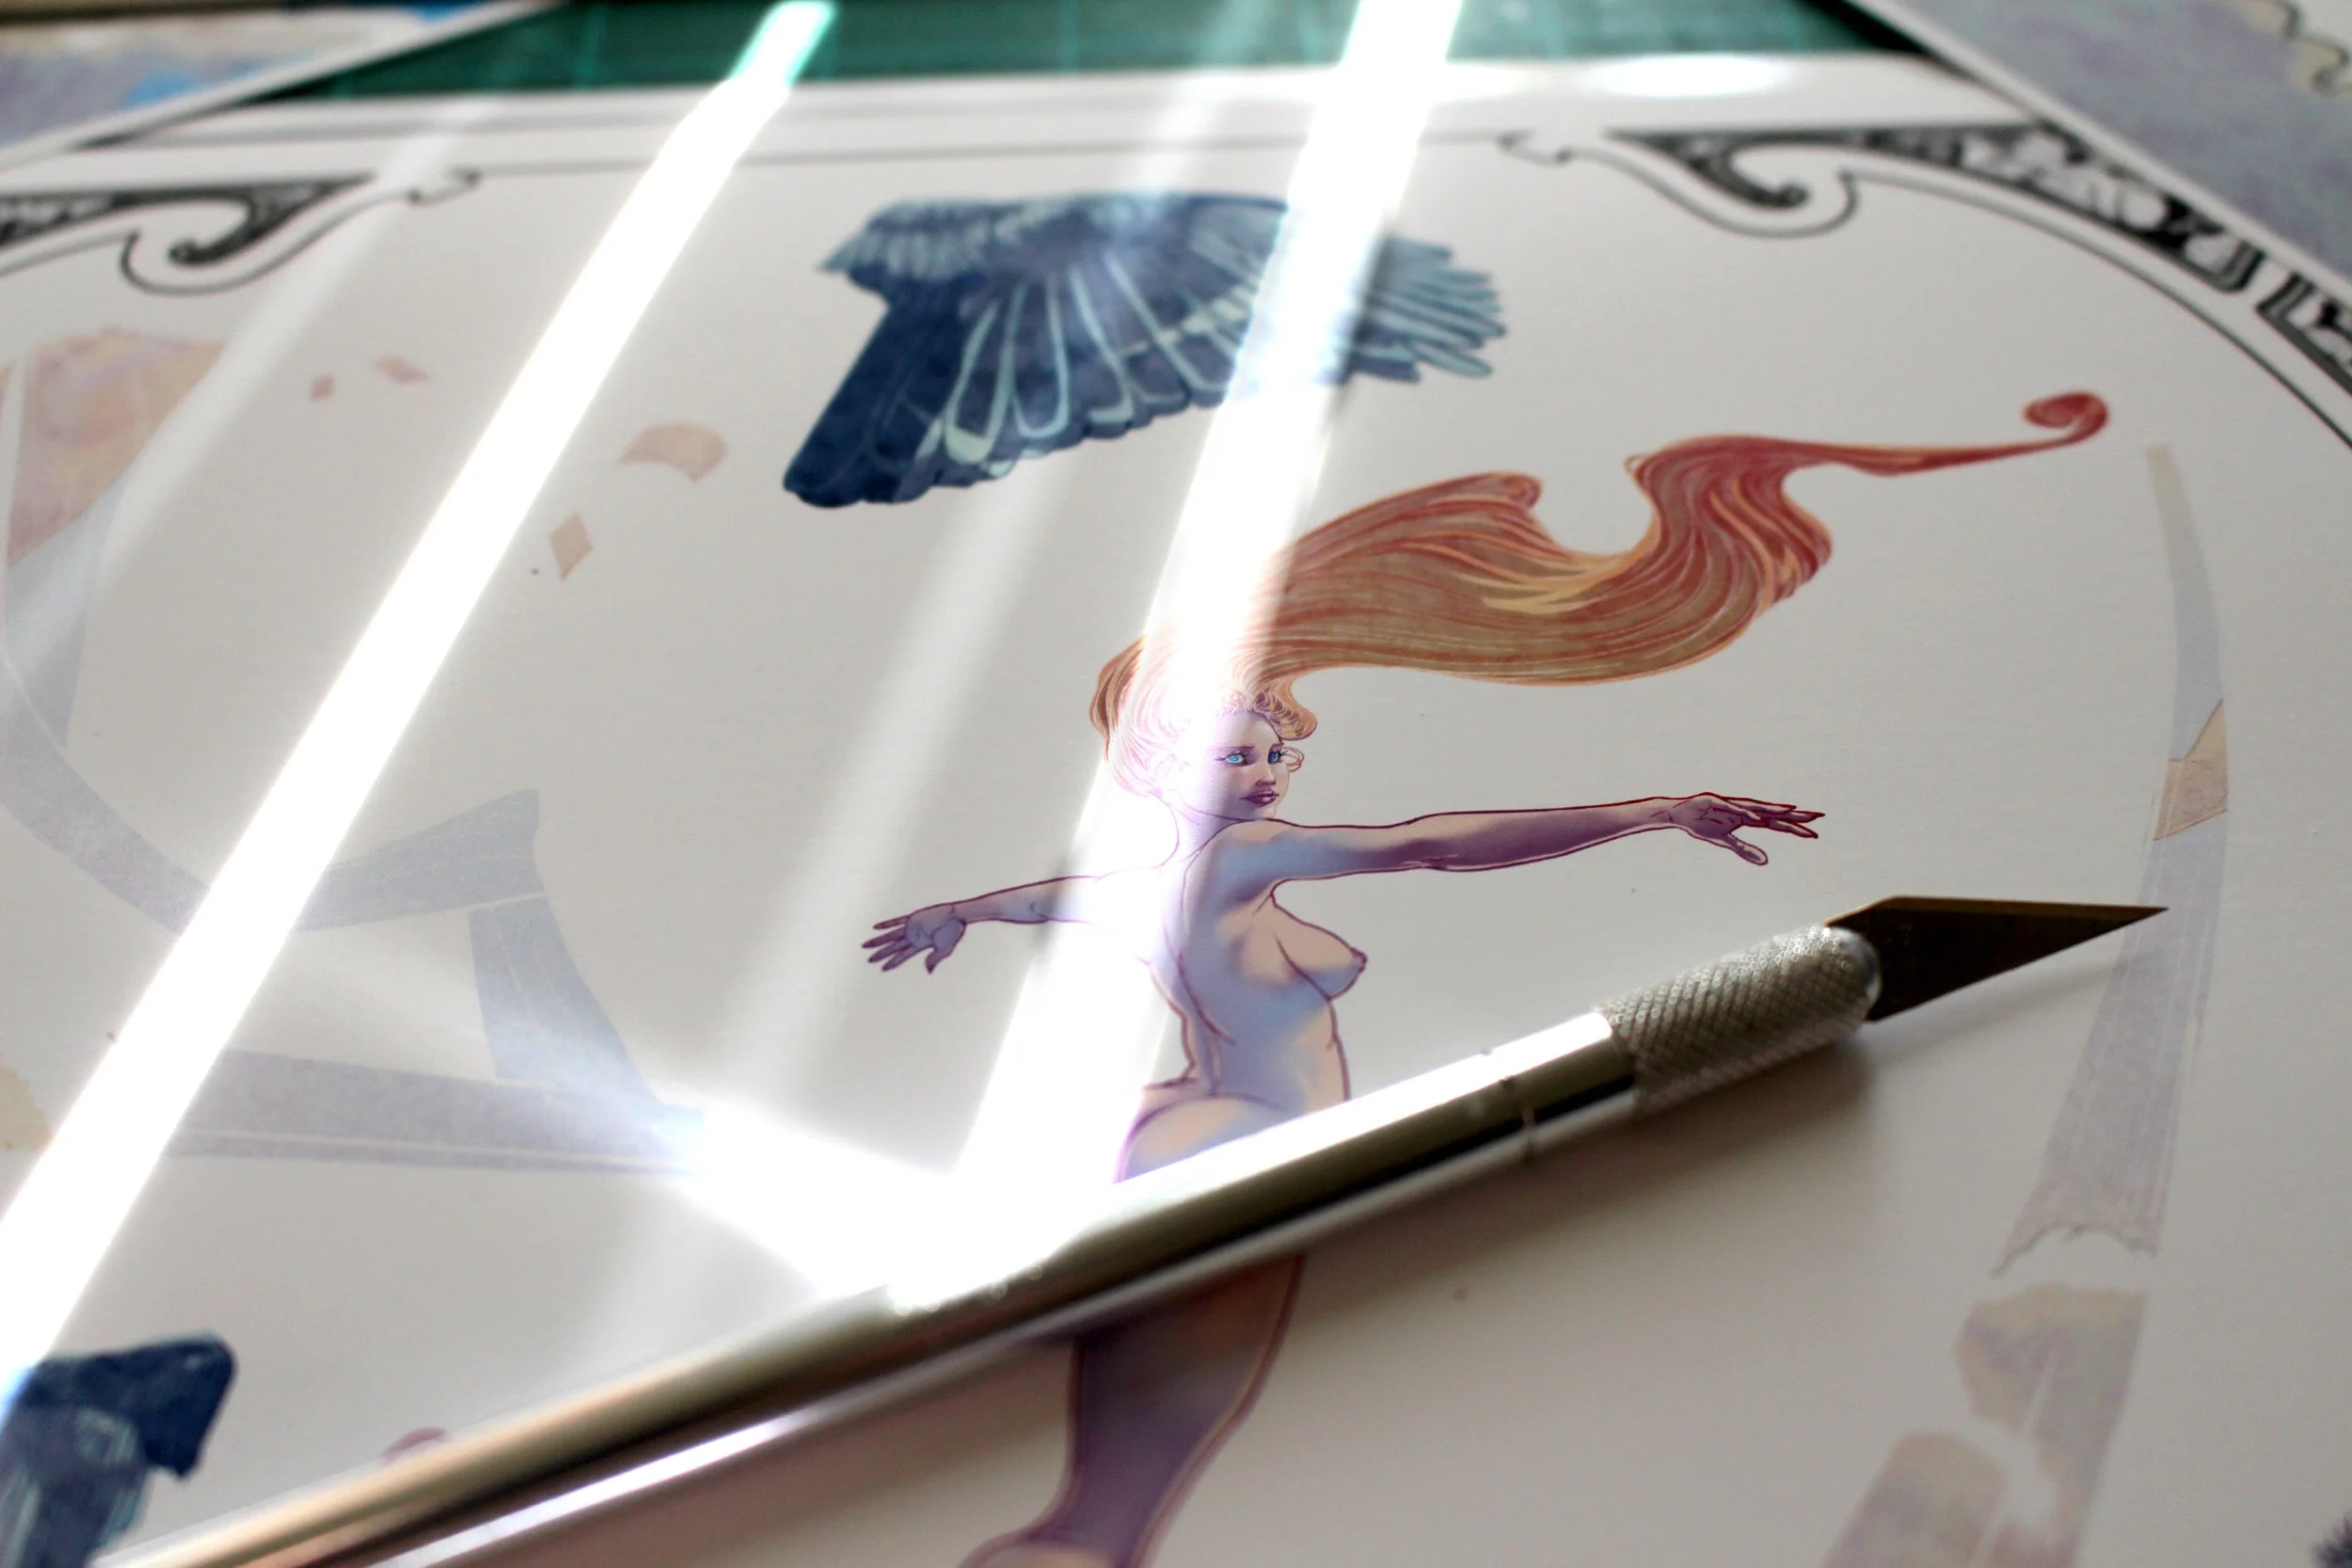
After 30-40 minutes of drying, the pieces are cut, sorted, and then prepped for spacers and final assembly. This is when it all really starts to come together!
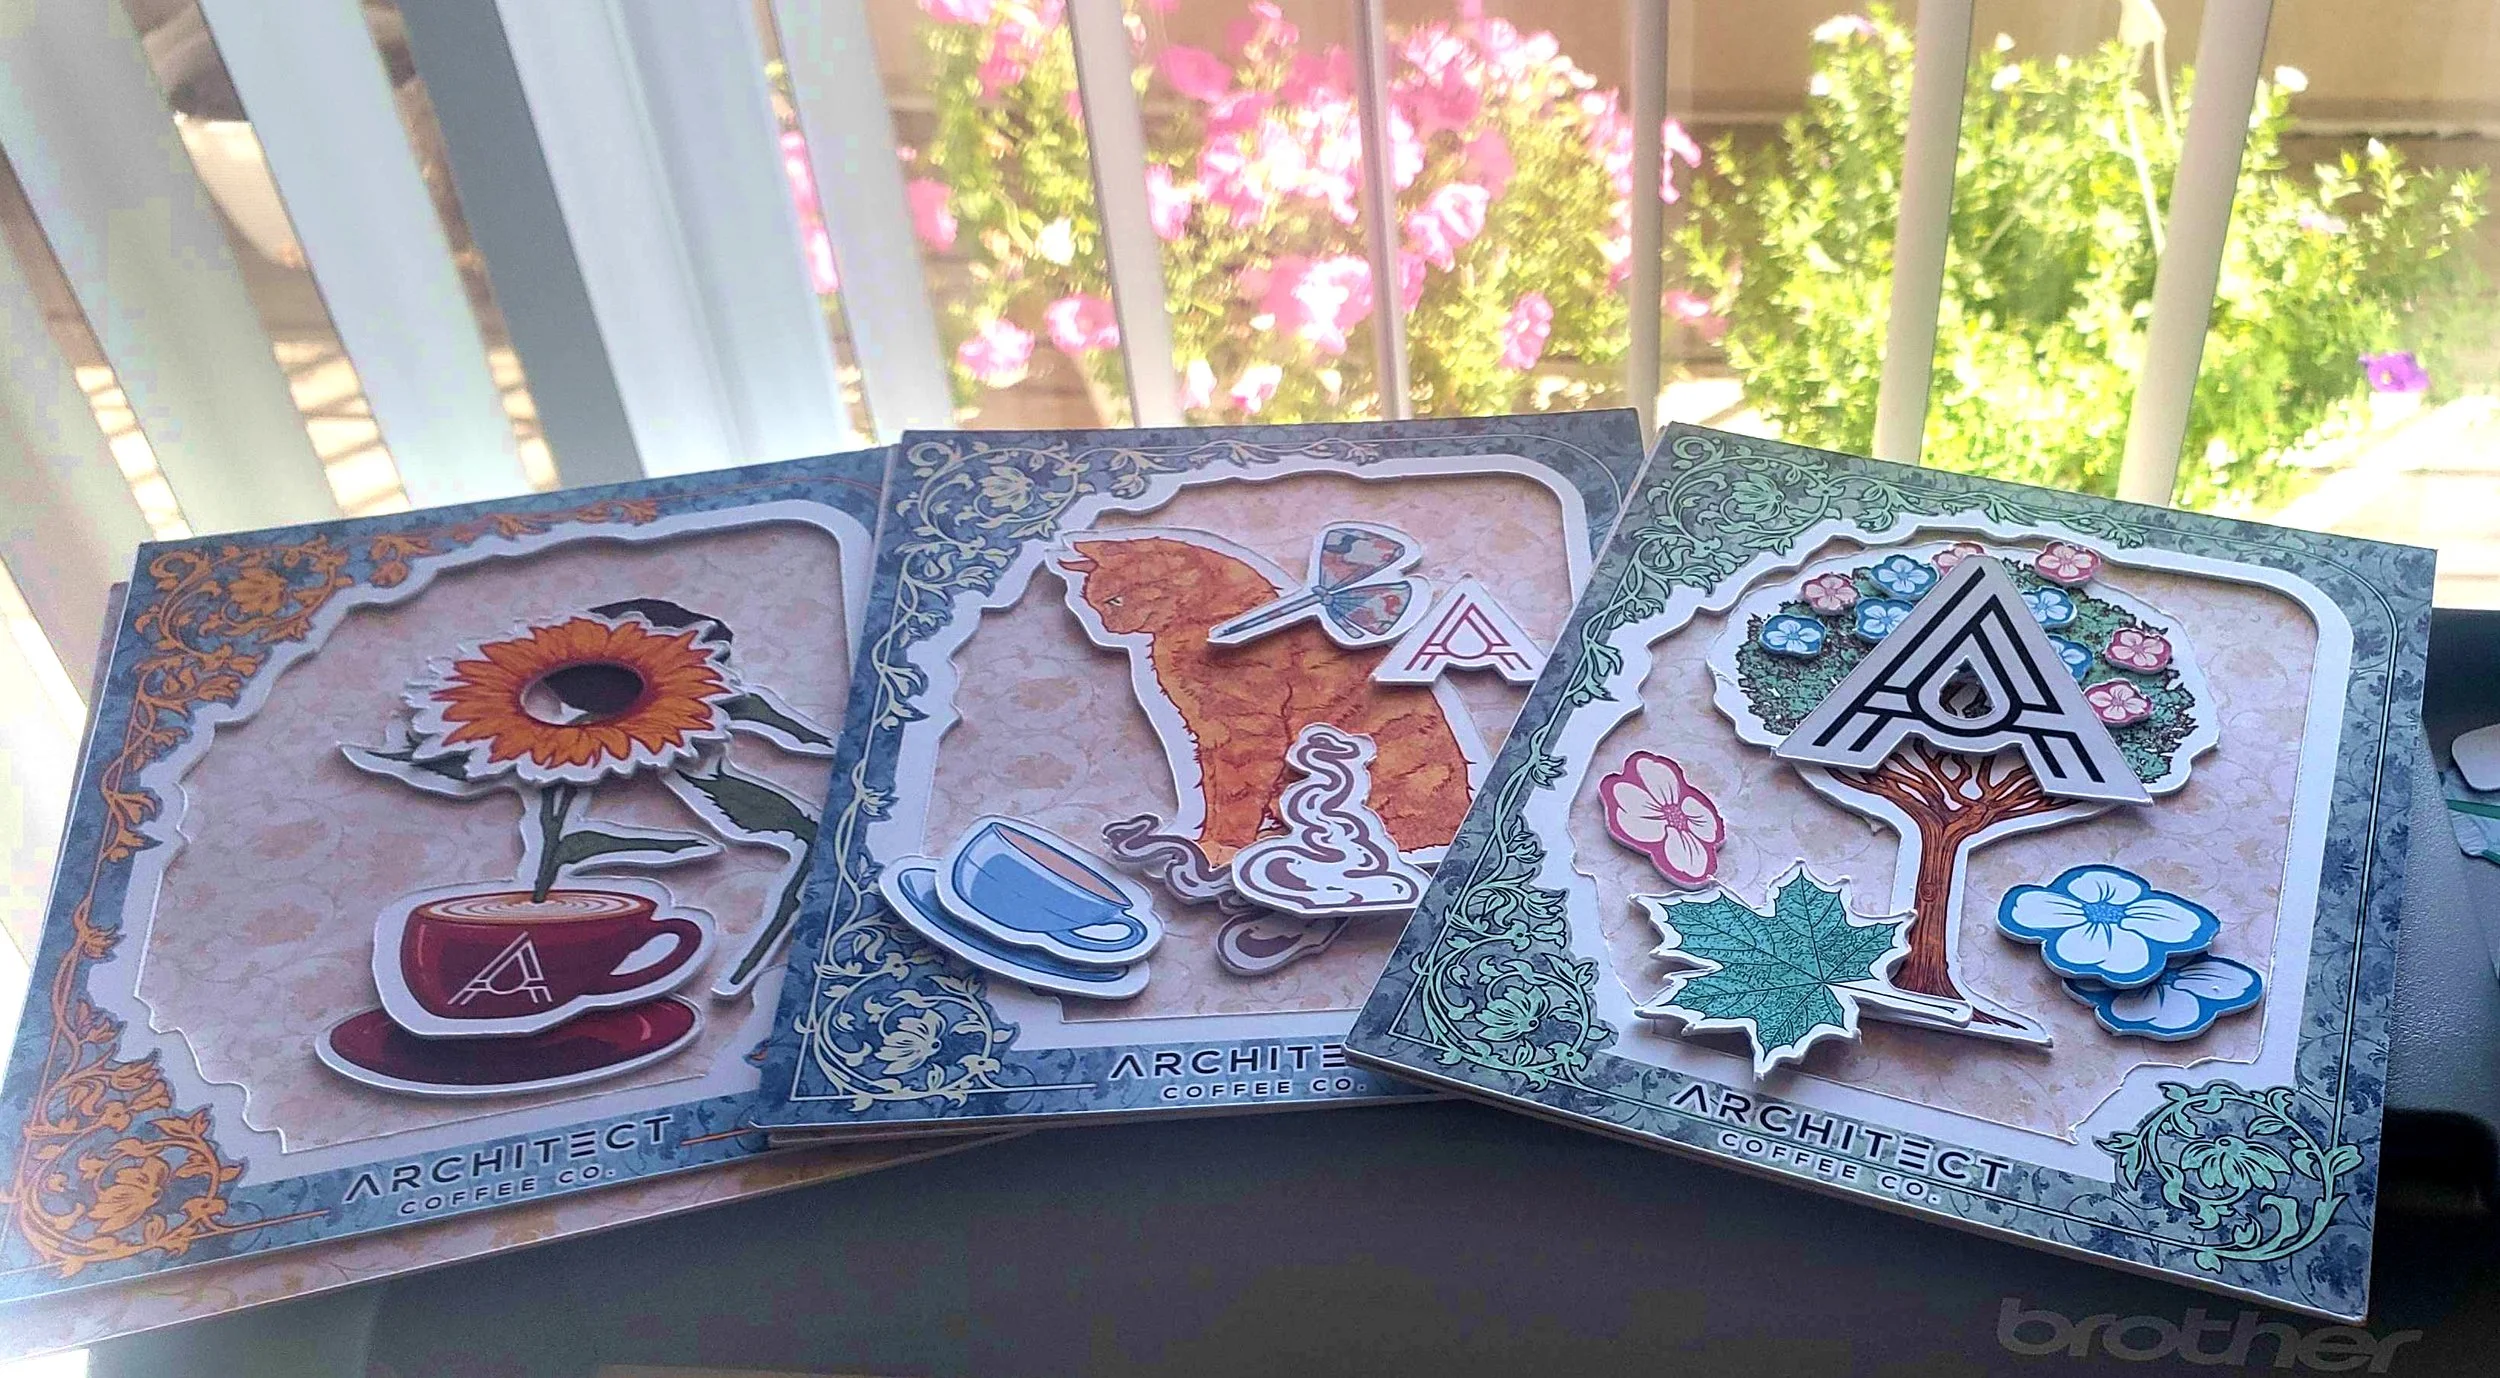
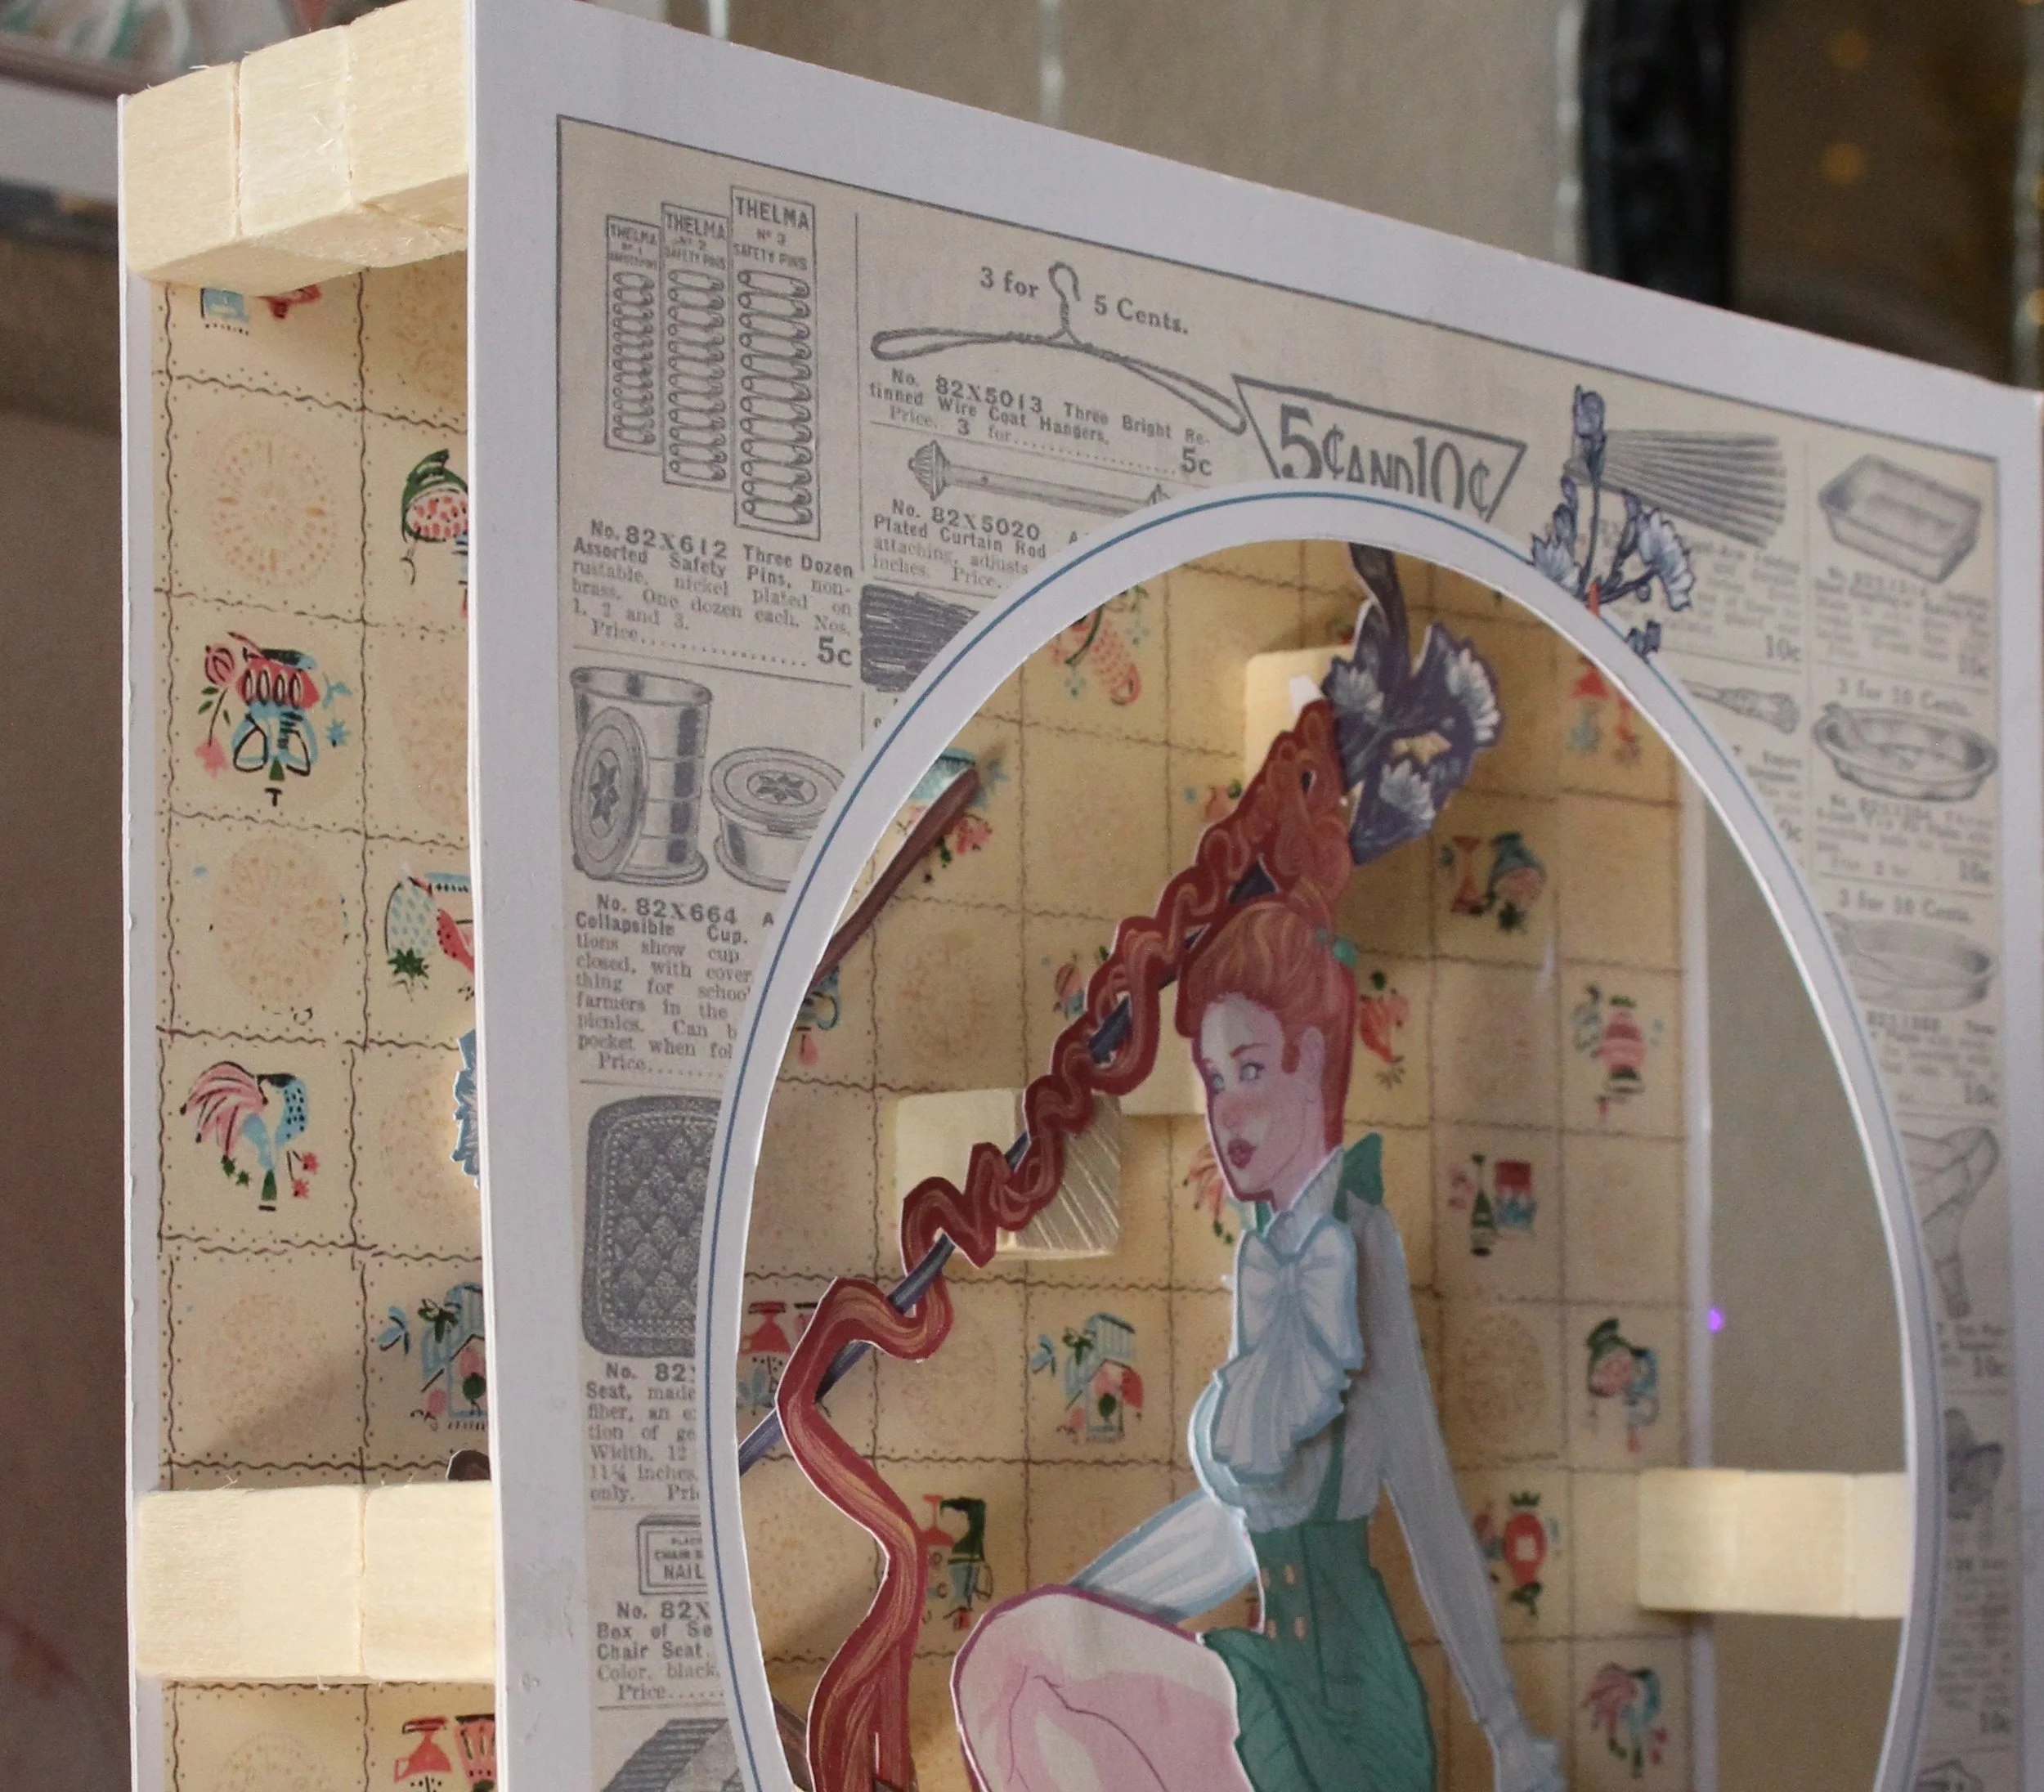
Finally, wooden spacers are affixed to each layer to separate the background and foreground layer, and individual spacers are used to make independent assets “float” at different heights. This is the most fun process, by far, but you have to be careful to not get any glue on the assets or portal!
The boxes are carefully and gently weighted-down to ensure complete and even drying, and twenty minutes later you have it: a complete and ready-to-display Storybox!